The other week I found myself lucky enough to have won an online auction for a sterling that nobody else seemed interested in (I was the only bidder). Even with shipping and the additional handling charges added on, it was $20 typer.
I knew going into it that the paint was a bit rough:
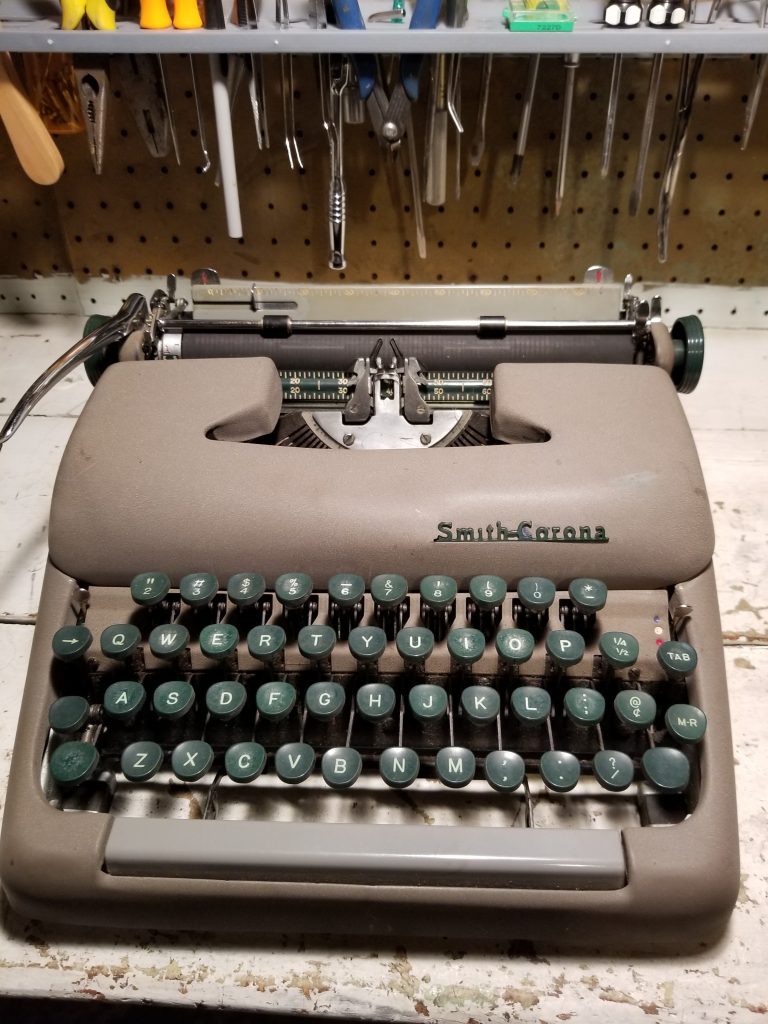
Not too bad at first glance, BUT in the long, sordid history of this typer, it seems as though someone had spilled coffee onto it. So even after cleaning the paint, the stains remained. So, it was time to play. But first, some more “as found” pics….
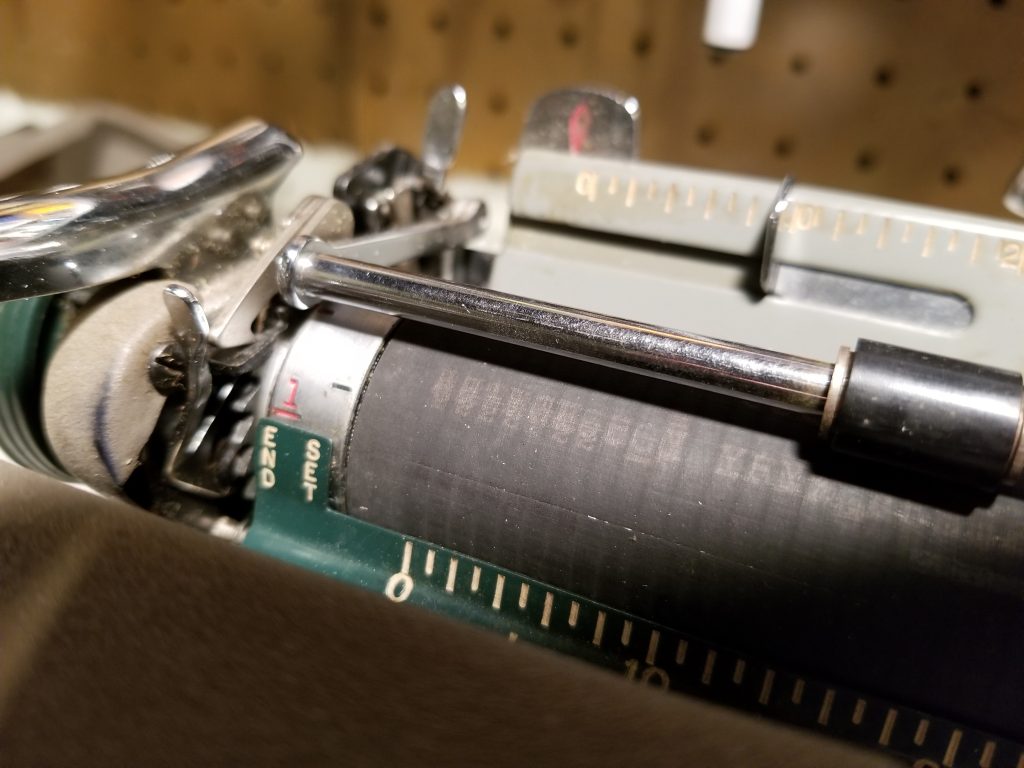
Showing some of the surprises inside, along with coffee stains….
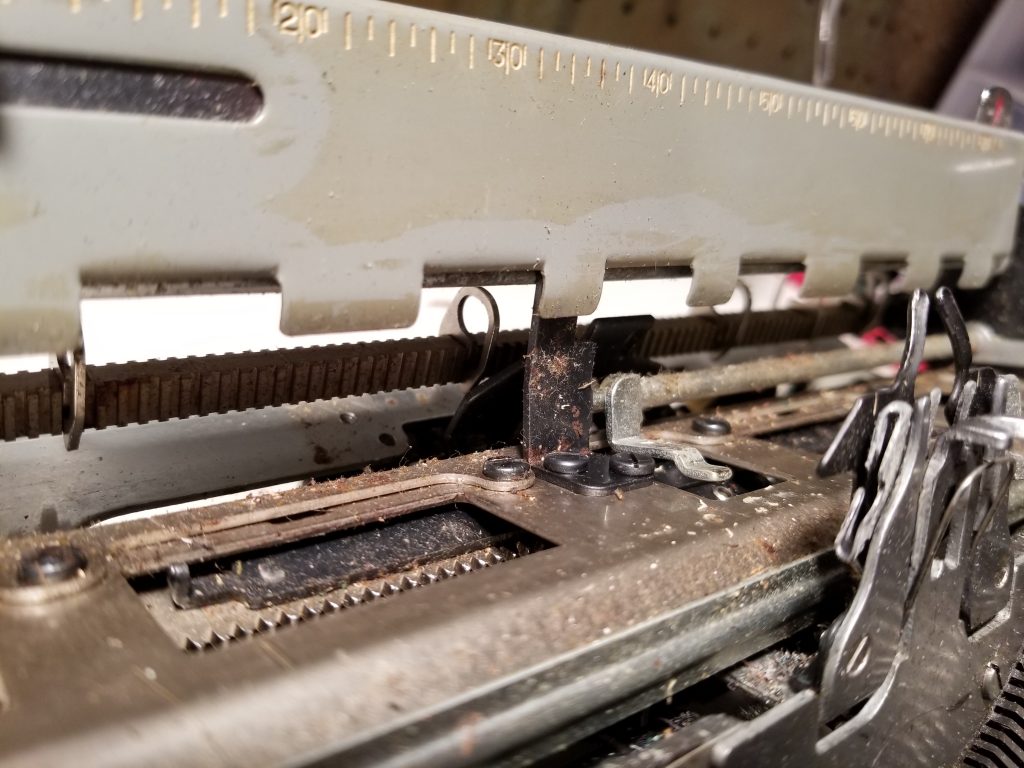
Such a dirty girl….
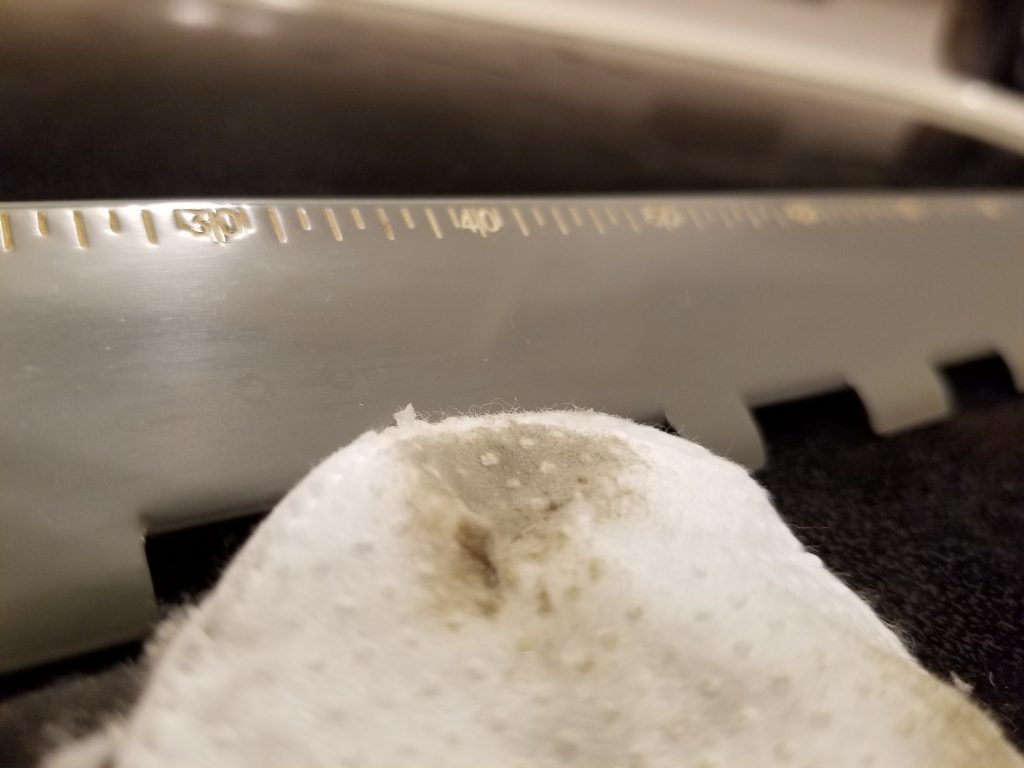
Scuffs and stains….
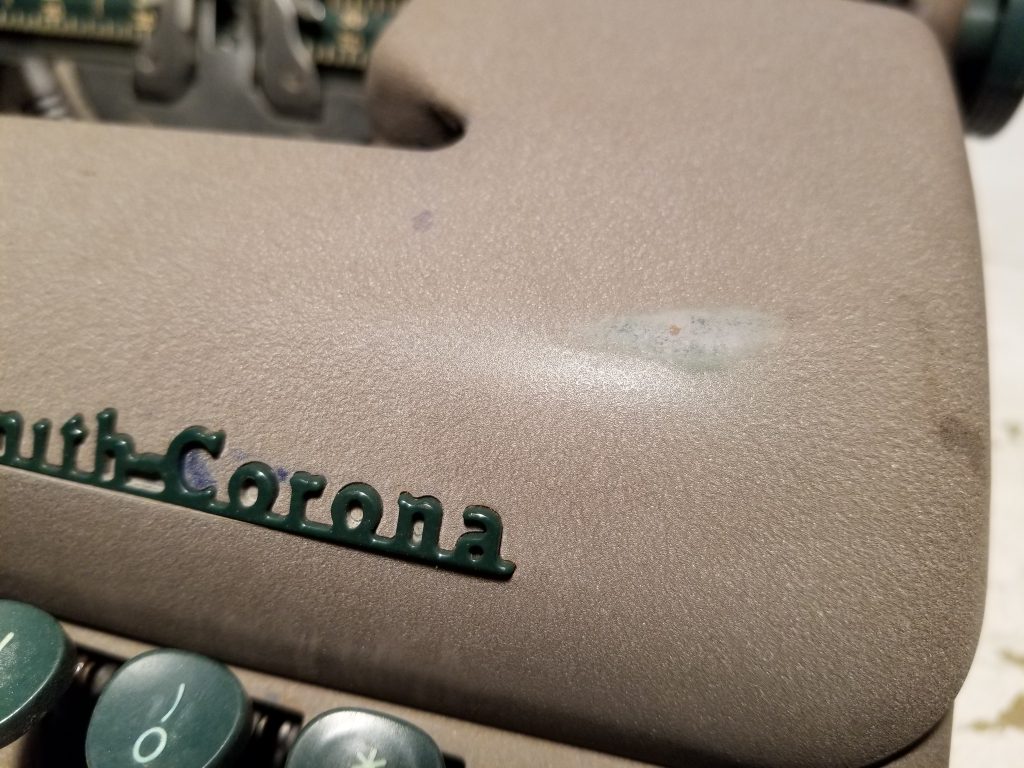
Worn and dusty….
First step, disassembly and washing parts!!
Part of the reason why I am in such love with Sterlings is that they are so easy to take apart and work with….she seems happy!
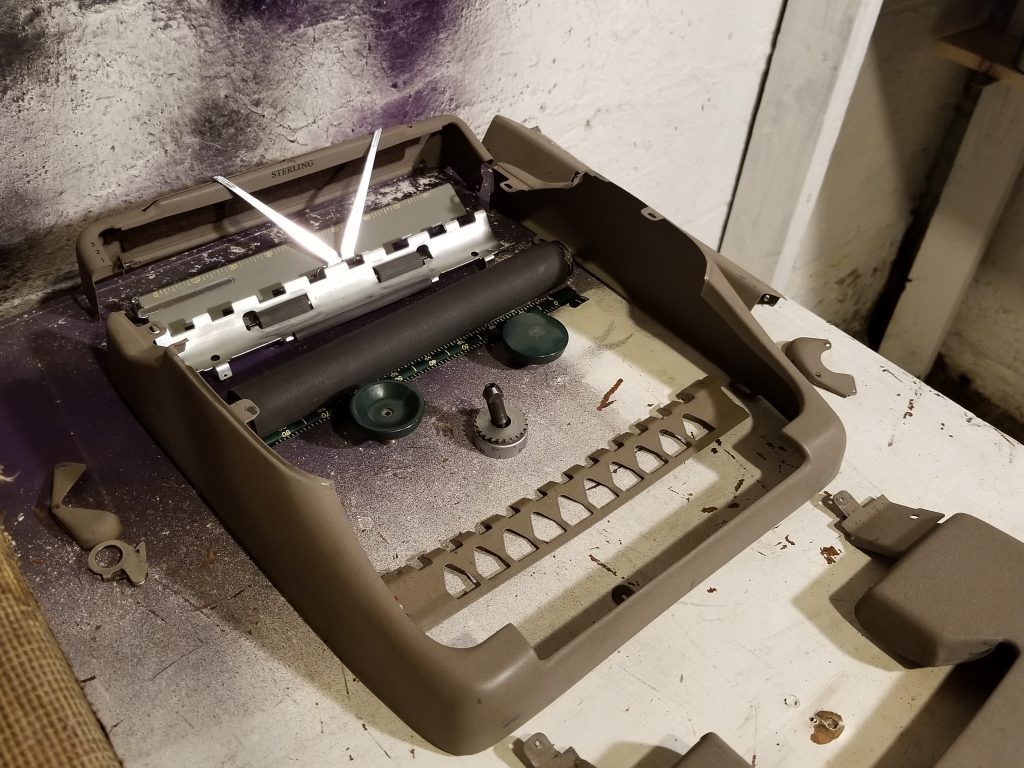
Eeeek! A naked Sterling!
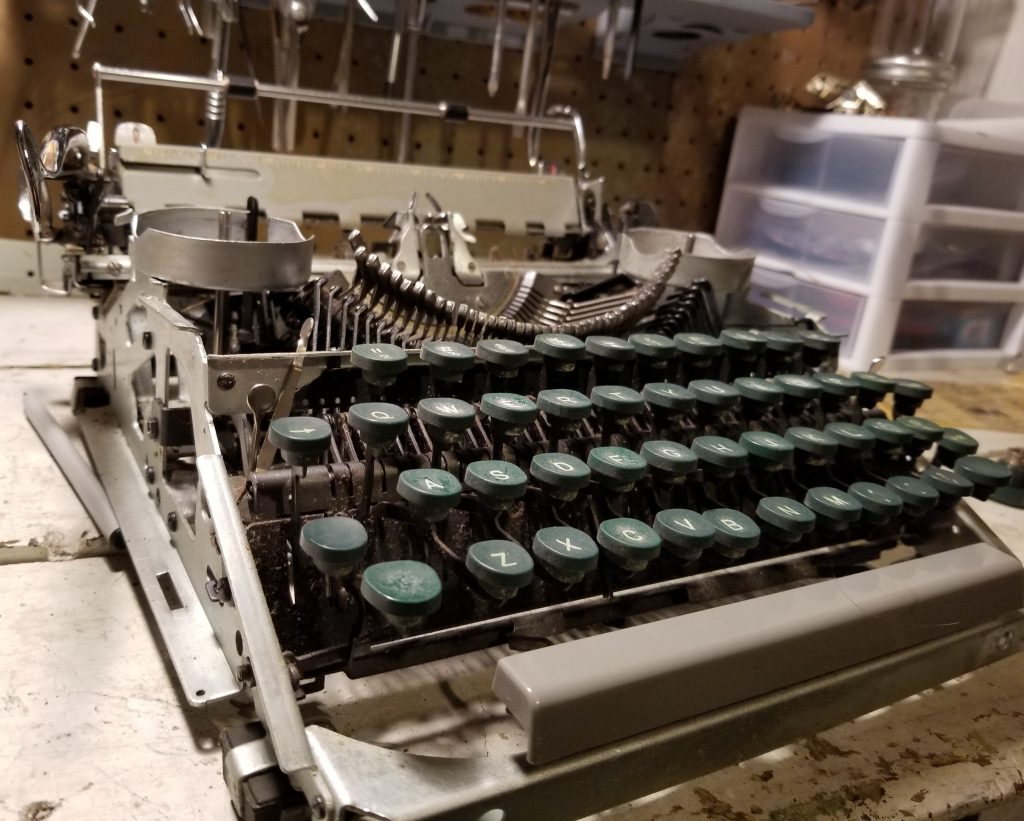
After some random pondering, and feeling a “grunge” vibe because of all the scratches, I finally settled on a metallic paint job.
The first step for painting was sourcing the paints. I used a shiny copper spray paint first, but didn’t spray it on the typer parts. I instead sprayed it on to a crumpled bit of plastic shopping bag that everyone seems to have bags full of tucked away in their kitchen somewhere. It would give it some randomness, and I was trying to get a look that the copper was “peeking out”: from underneath the original paint.
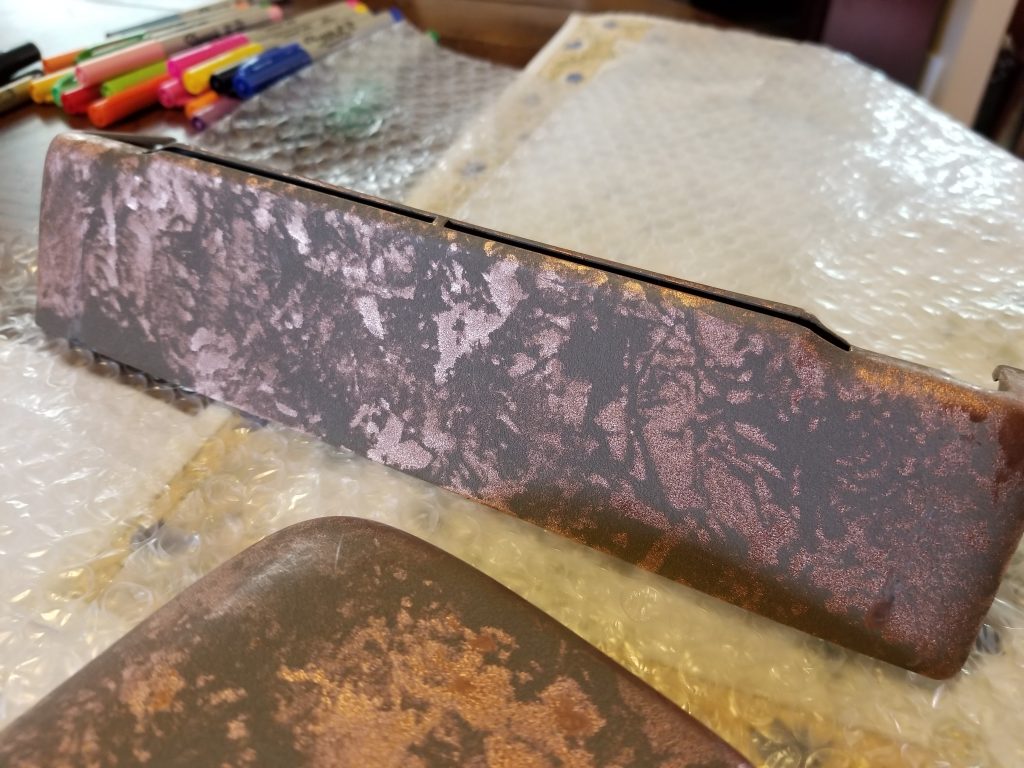
Pretty nice, but too…smooth. So I watered down some black acrylic and added a top coat:
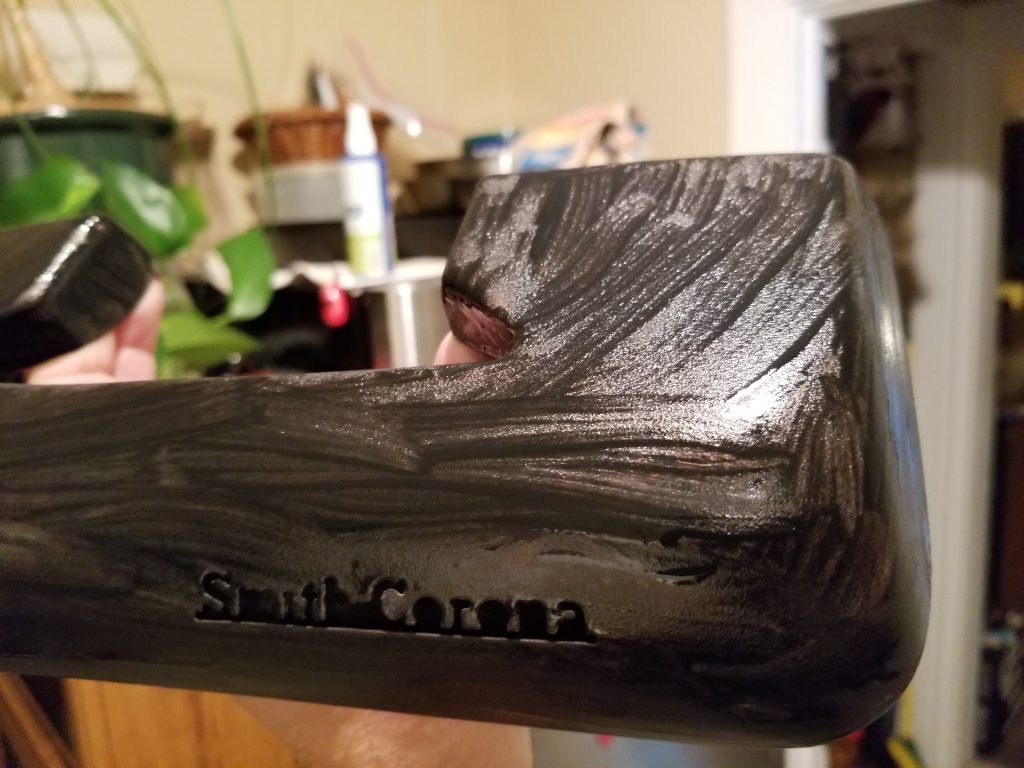
This I rubbed off with a soft cotton towel so it would “age” things a bit:
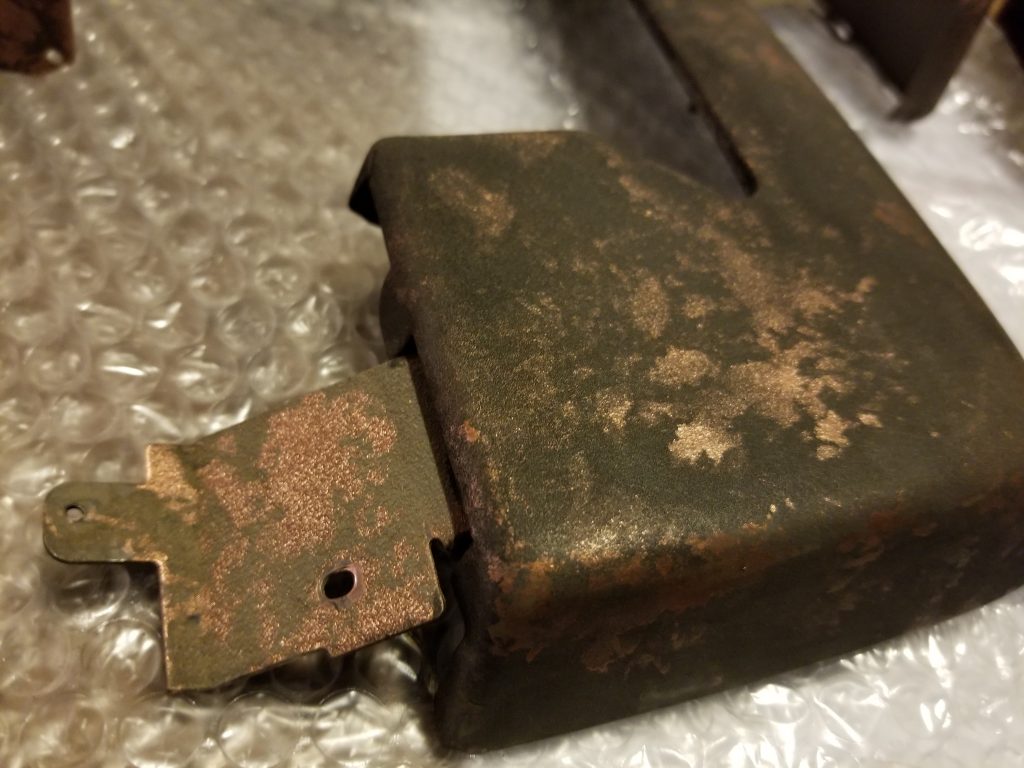
In the above picture, the ribbon cover has had the black wash, while the hinge has not….
By this point, it was starting to take shape. But it still seemed to lack a little something. Eventually, I decided to grab a bit of sponge (sea, not bathroom) and do pretty much the same concept I had done with the black paint, only on a smaller scale using an “antique copper” acrylic:
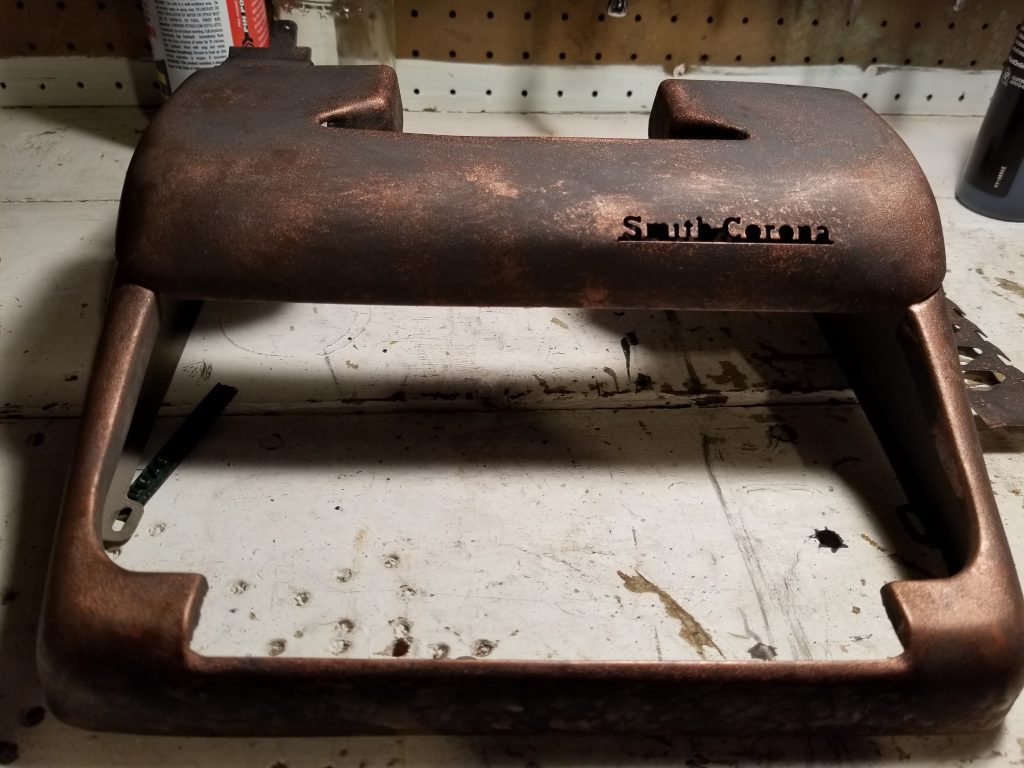
There we go. That’s more what I had in mind at the start of the project!
The plastic logo insert, I simply sprayed with bright metallic copper, so it would “pop” a bit…
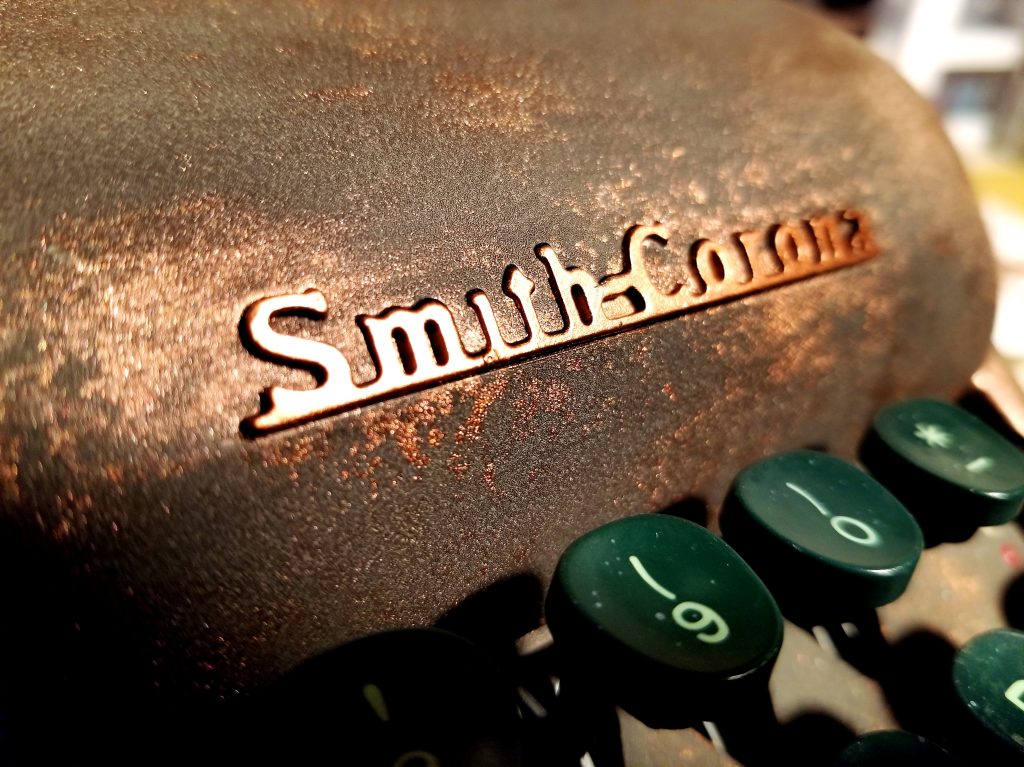
After everything had dried, time for reassembly and test run:
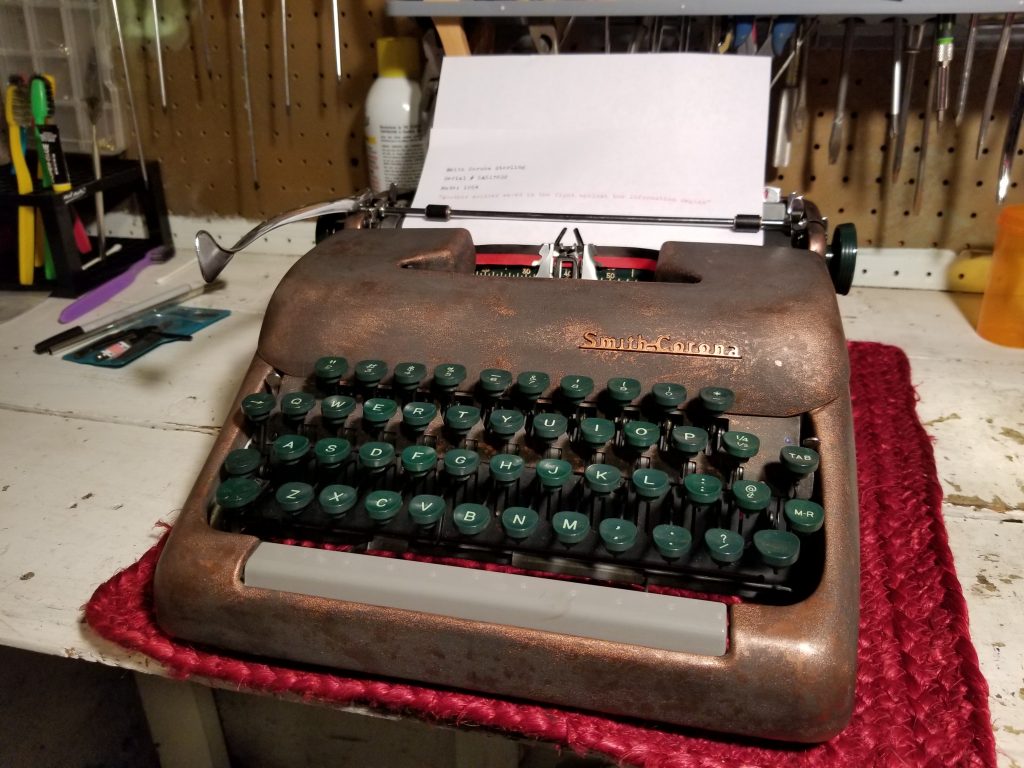
And of course, you have to do a test page (note the cleaned works and how the copper highlights look):
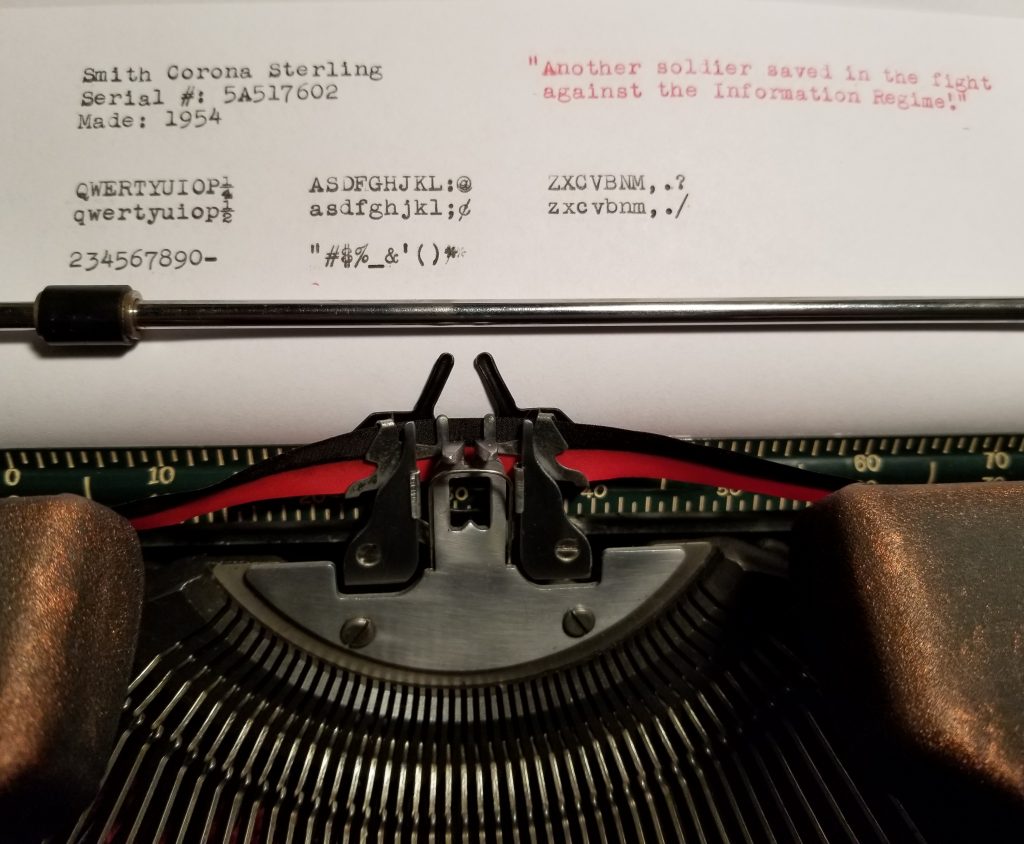
Overall, I am pretty happy with the results. I have been toying with the idea of clear coating it, but even with a matte finish, it is still going to add a bit of a shine to her, and I’m just not feeling that. Besides, I figure this way she will age normally and the absolute worst case would be adding more character as things wear and get further scuffs.
Some “in the sun” finished pictures:
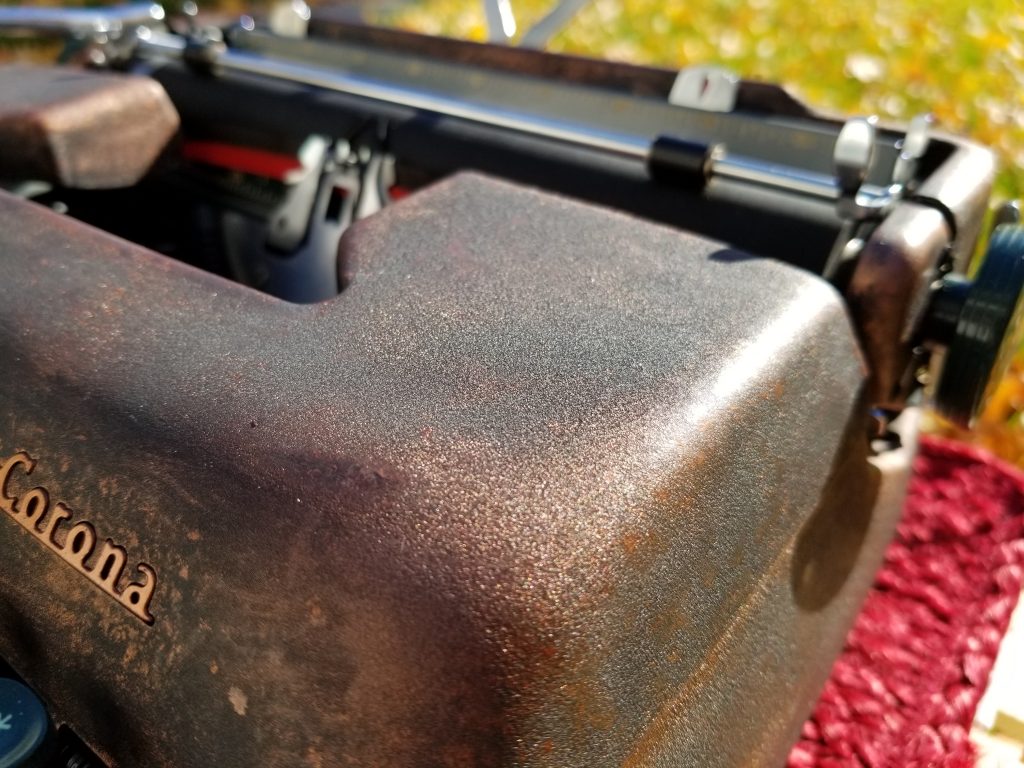
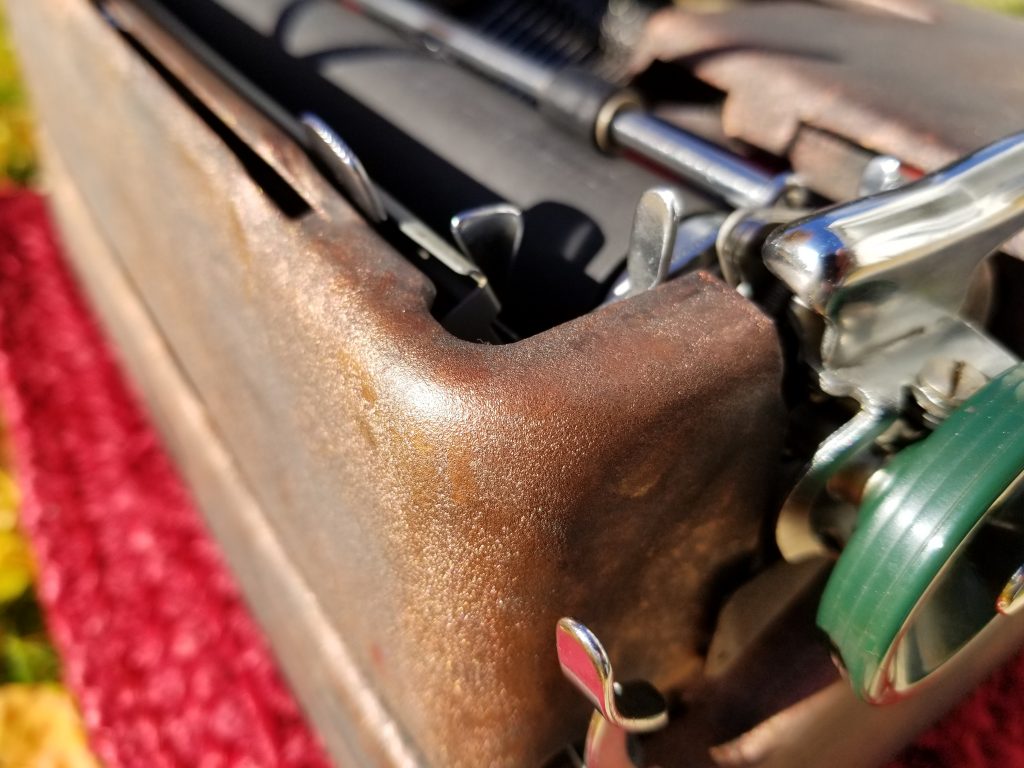
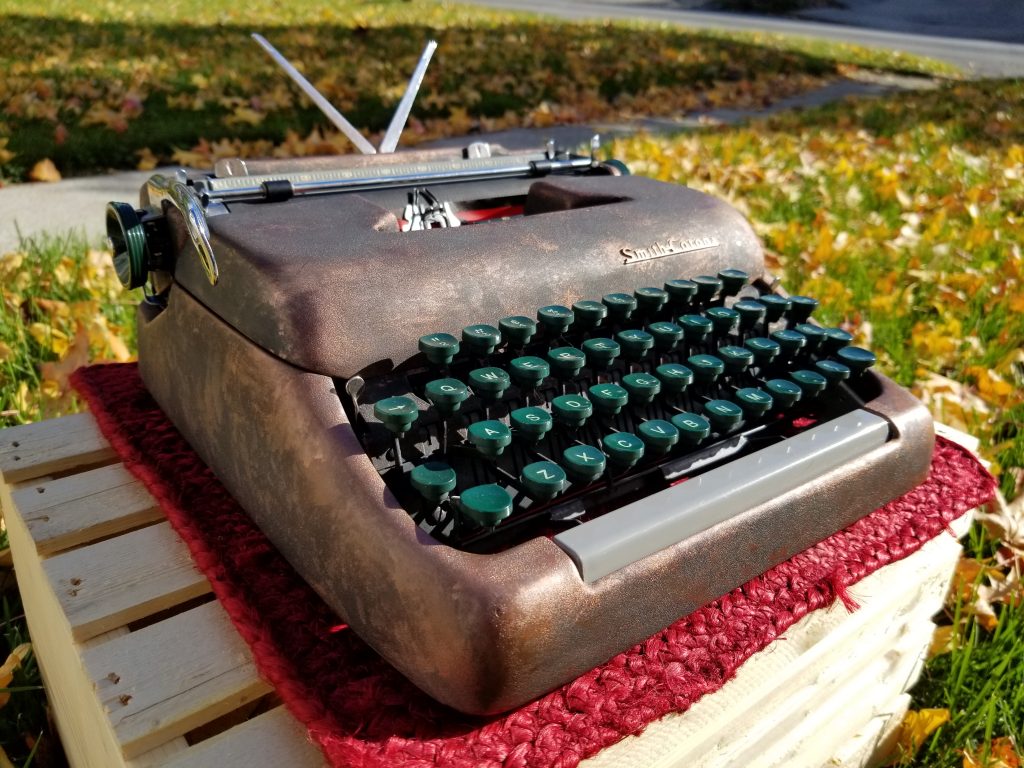
And this i how she looks in more natural lighting:
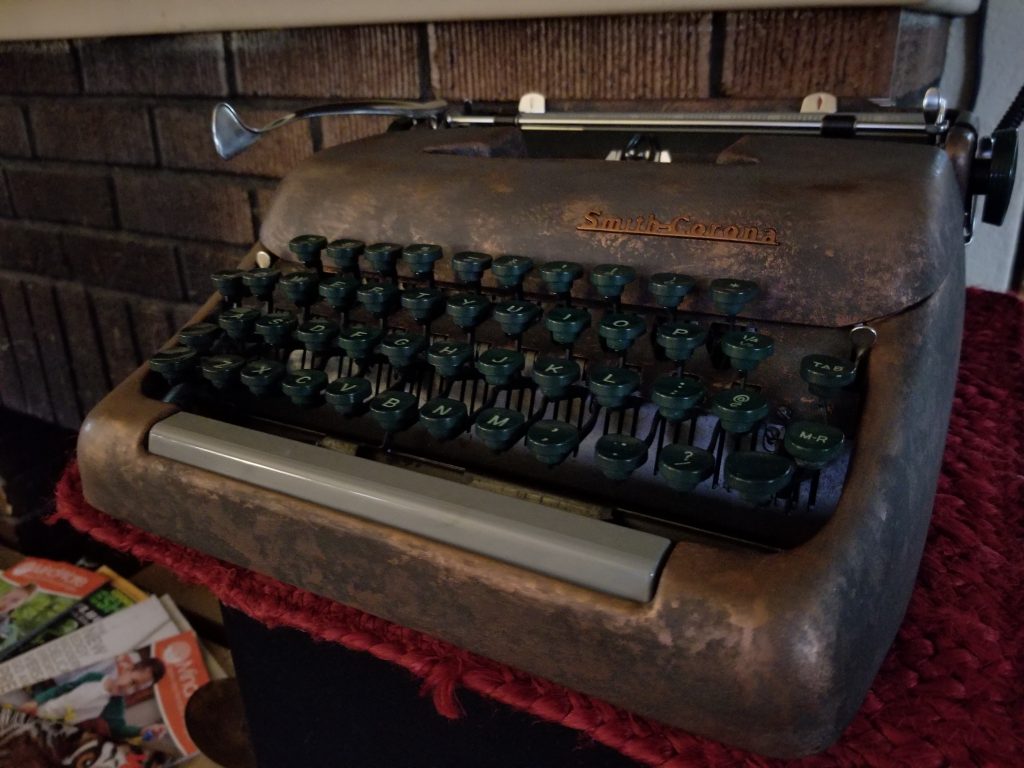
Under the scuffs and stains and years of dust and neglect was something beautiful. You just need to know where to look and take a little bit of time. But you might just be rewarded with something new a beautiful!
Oh. And she’s for sale. So email me your offer and we’ll talk. 😉
~Typewriter Fox

