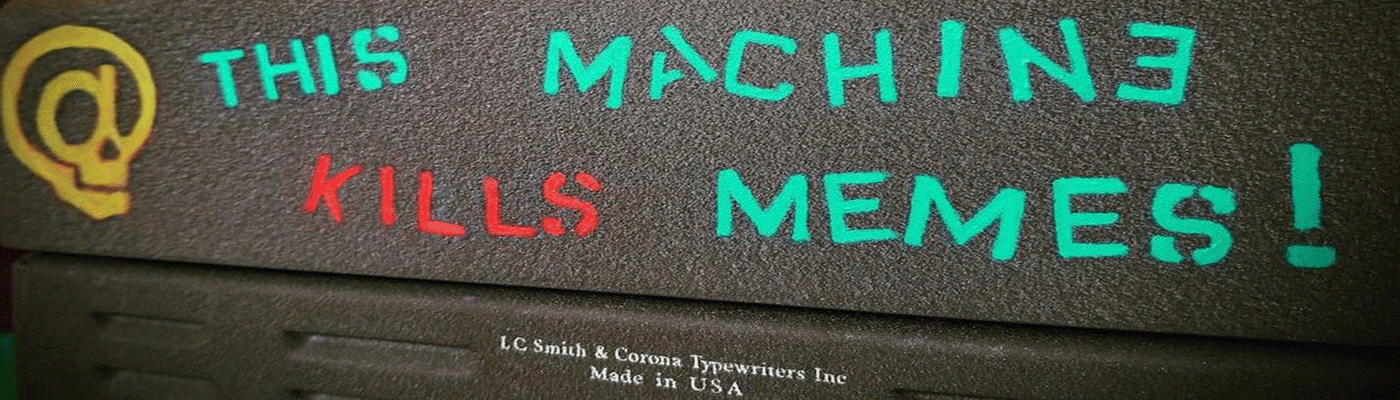
~Re-purposing with a Purpose, Royalite Style Part One~
Over the summer I managed to acquire, as part of a group typer purchase, the sad remains of a 1958 Royalite.
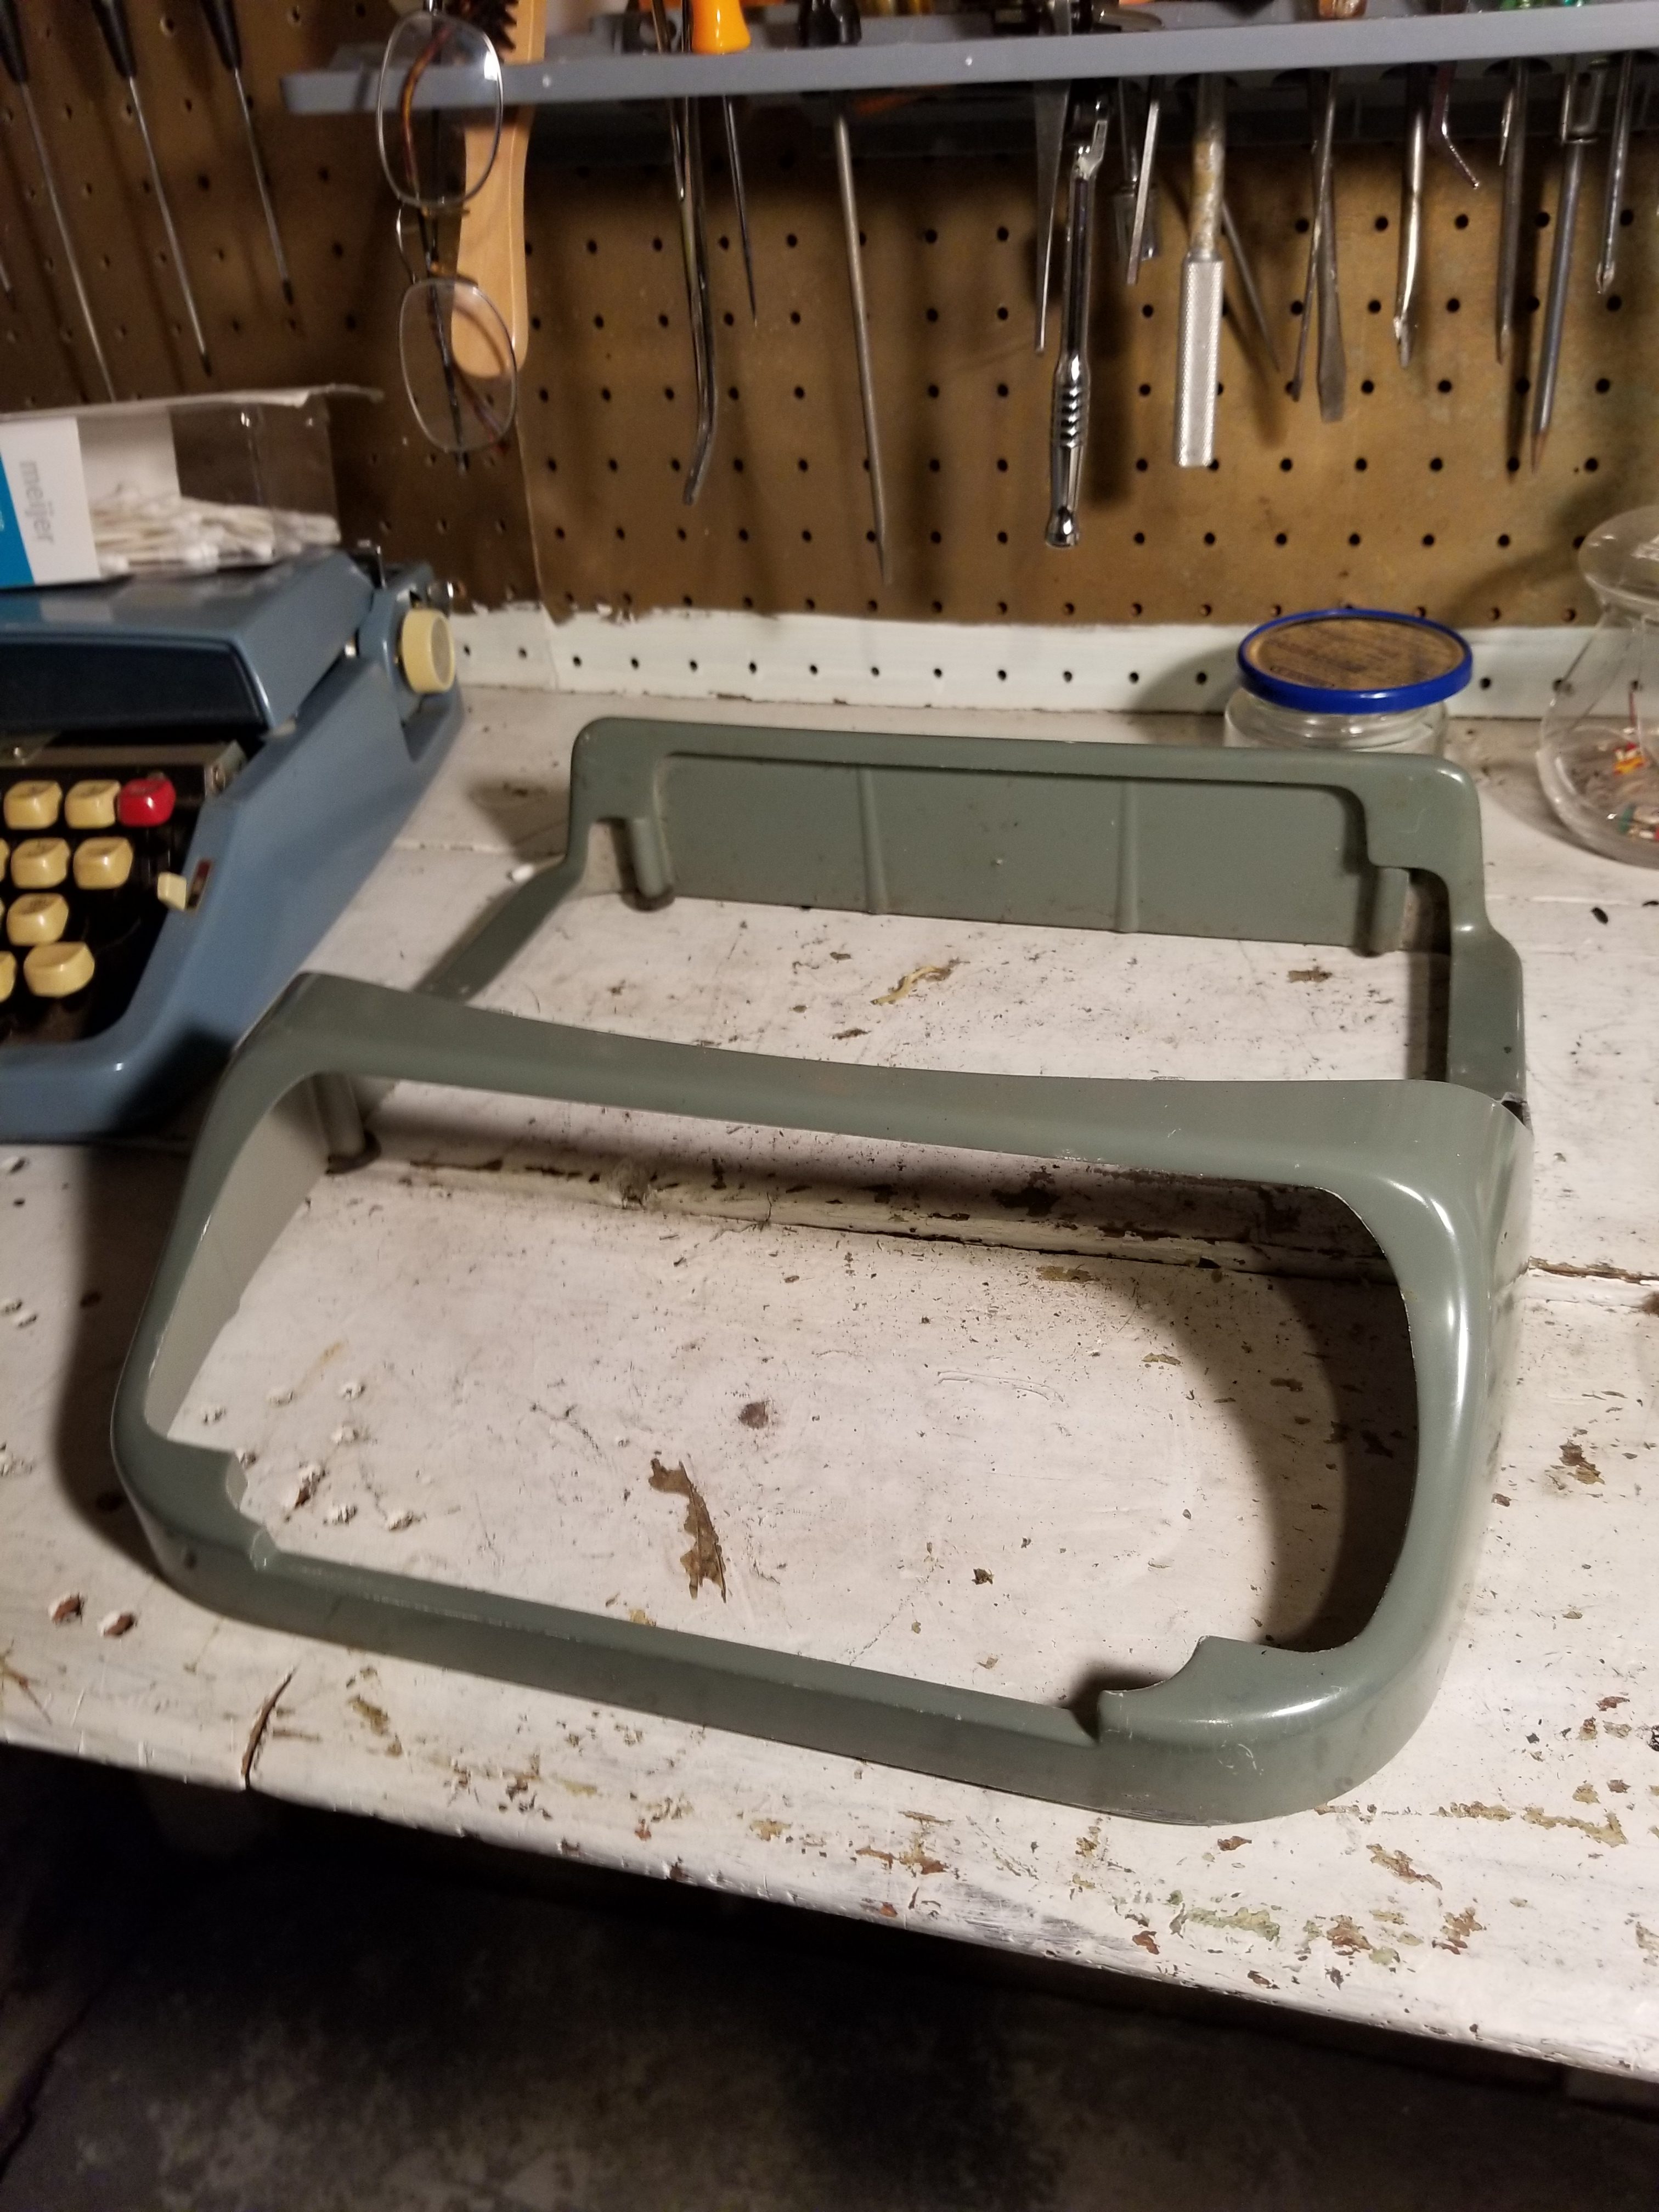
Bent body 1958 Royalite
The main body was dented and totally out of alignment. The ribbon cover was broken AND bent, so it was pretty much pointless to try and repair. The mechanics were sound, but cosmetically? It was in rough shape. I mean you can tell exactly how hard it fell and how it landed at some point in it’s journey to me.
It had apparently belonged to the seller’s late wife and something about parting it out always bothered me. It just sort of seemed too…sad…to turn it into a pile of parts to use in other machines. So, it sat on my work shelf, occasionally tugging at my brain to actually do something constructive with it.
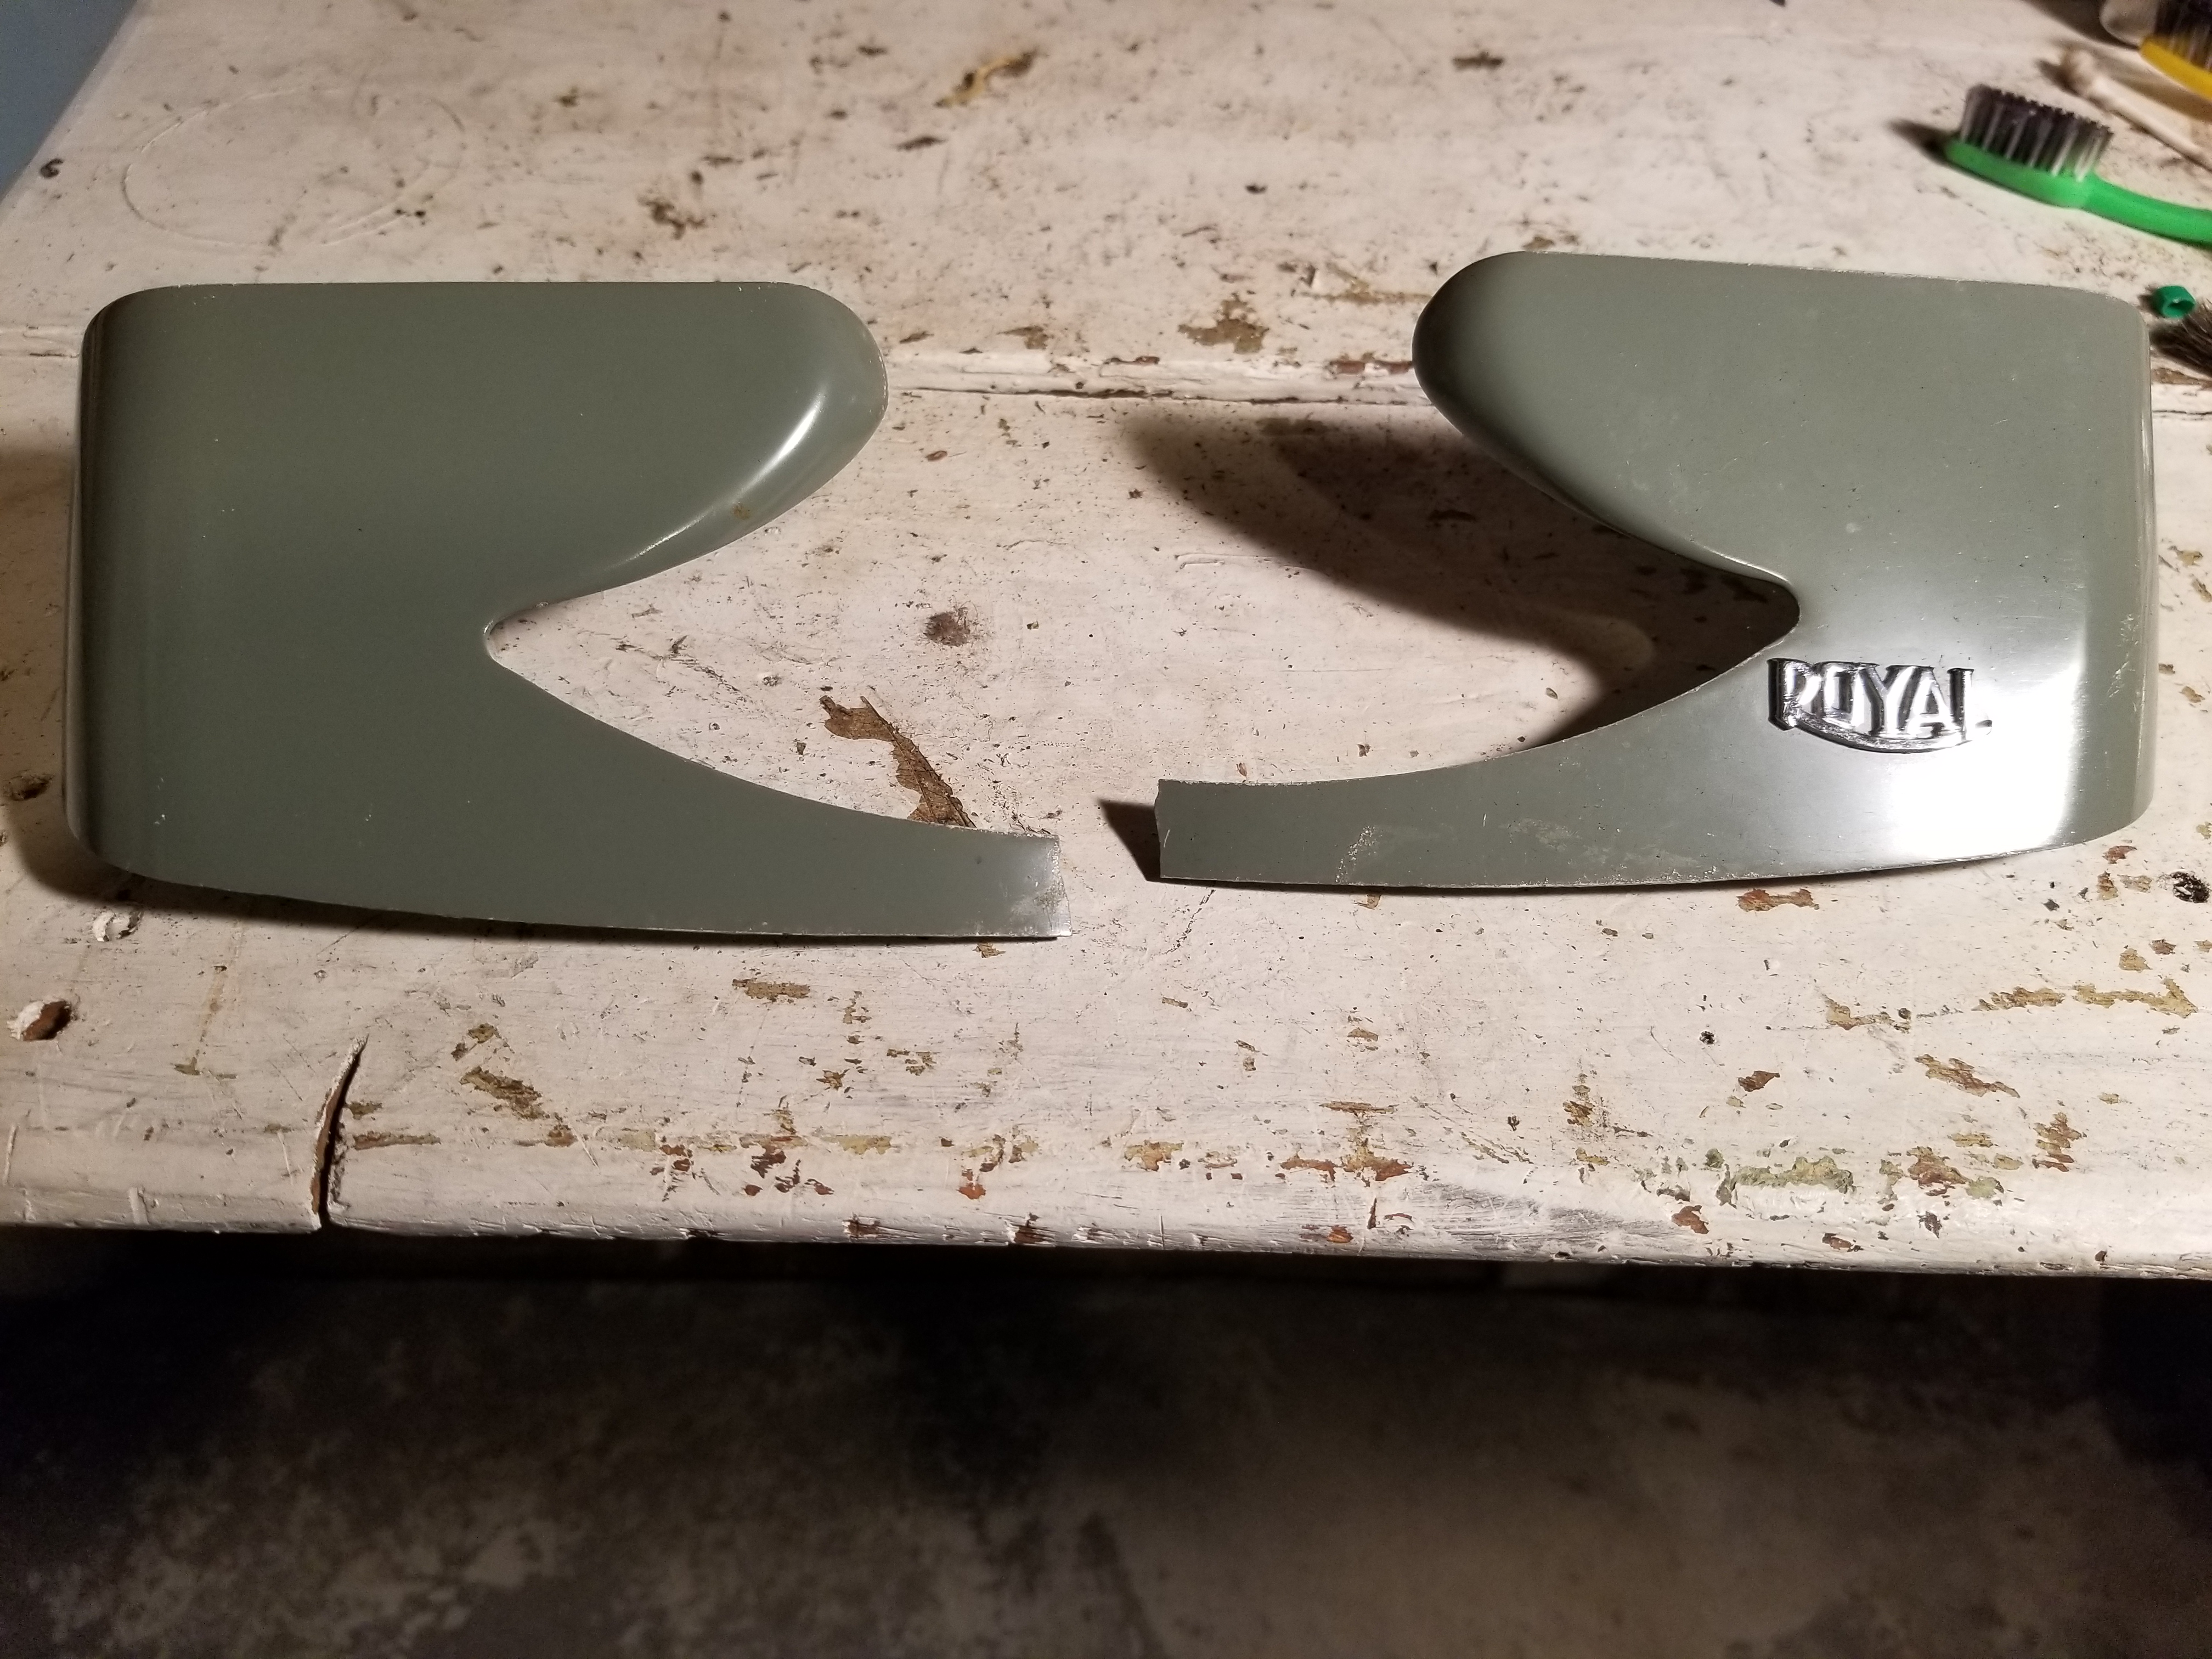
Well, I recently decided that it was time to bring some life back into that ol’ Royalite (because writer’s block is a bitch)…. Broken and bent ribbon cover 1958 Royalite
I had given some thought to maybe building a weatherproof container and make it a “neighborhood” typewriter, but summer is nearly over and to be honest, I wasn’t feeling that ambitious. But, it sparked other ideas of where I might possible re-purpose this abused little typer and give it some dignity and a new life.
After a sudden bit of inspiration, I remembered that down in the dark passageways of my “typewriter room” there was an old briefcase. Just for giggles, I thought I would give that a try. And it ended up working out pretty well. I would just need to change a few things first.
The first thing, I had to get out of my head that it would NOT be on some spring-loaded raised platform to pop out of the briefcase in a sexy, Hollywood sort of way. Nope. That would be over-thinking it and that just usually ends in disaster, so I knew that I had to keep it simple.
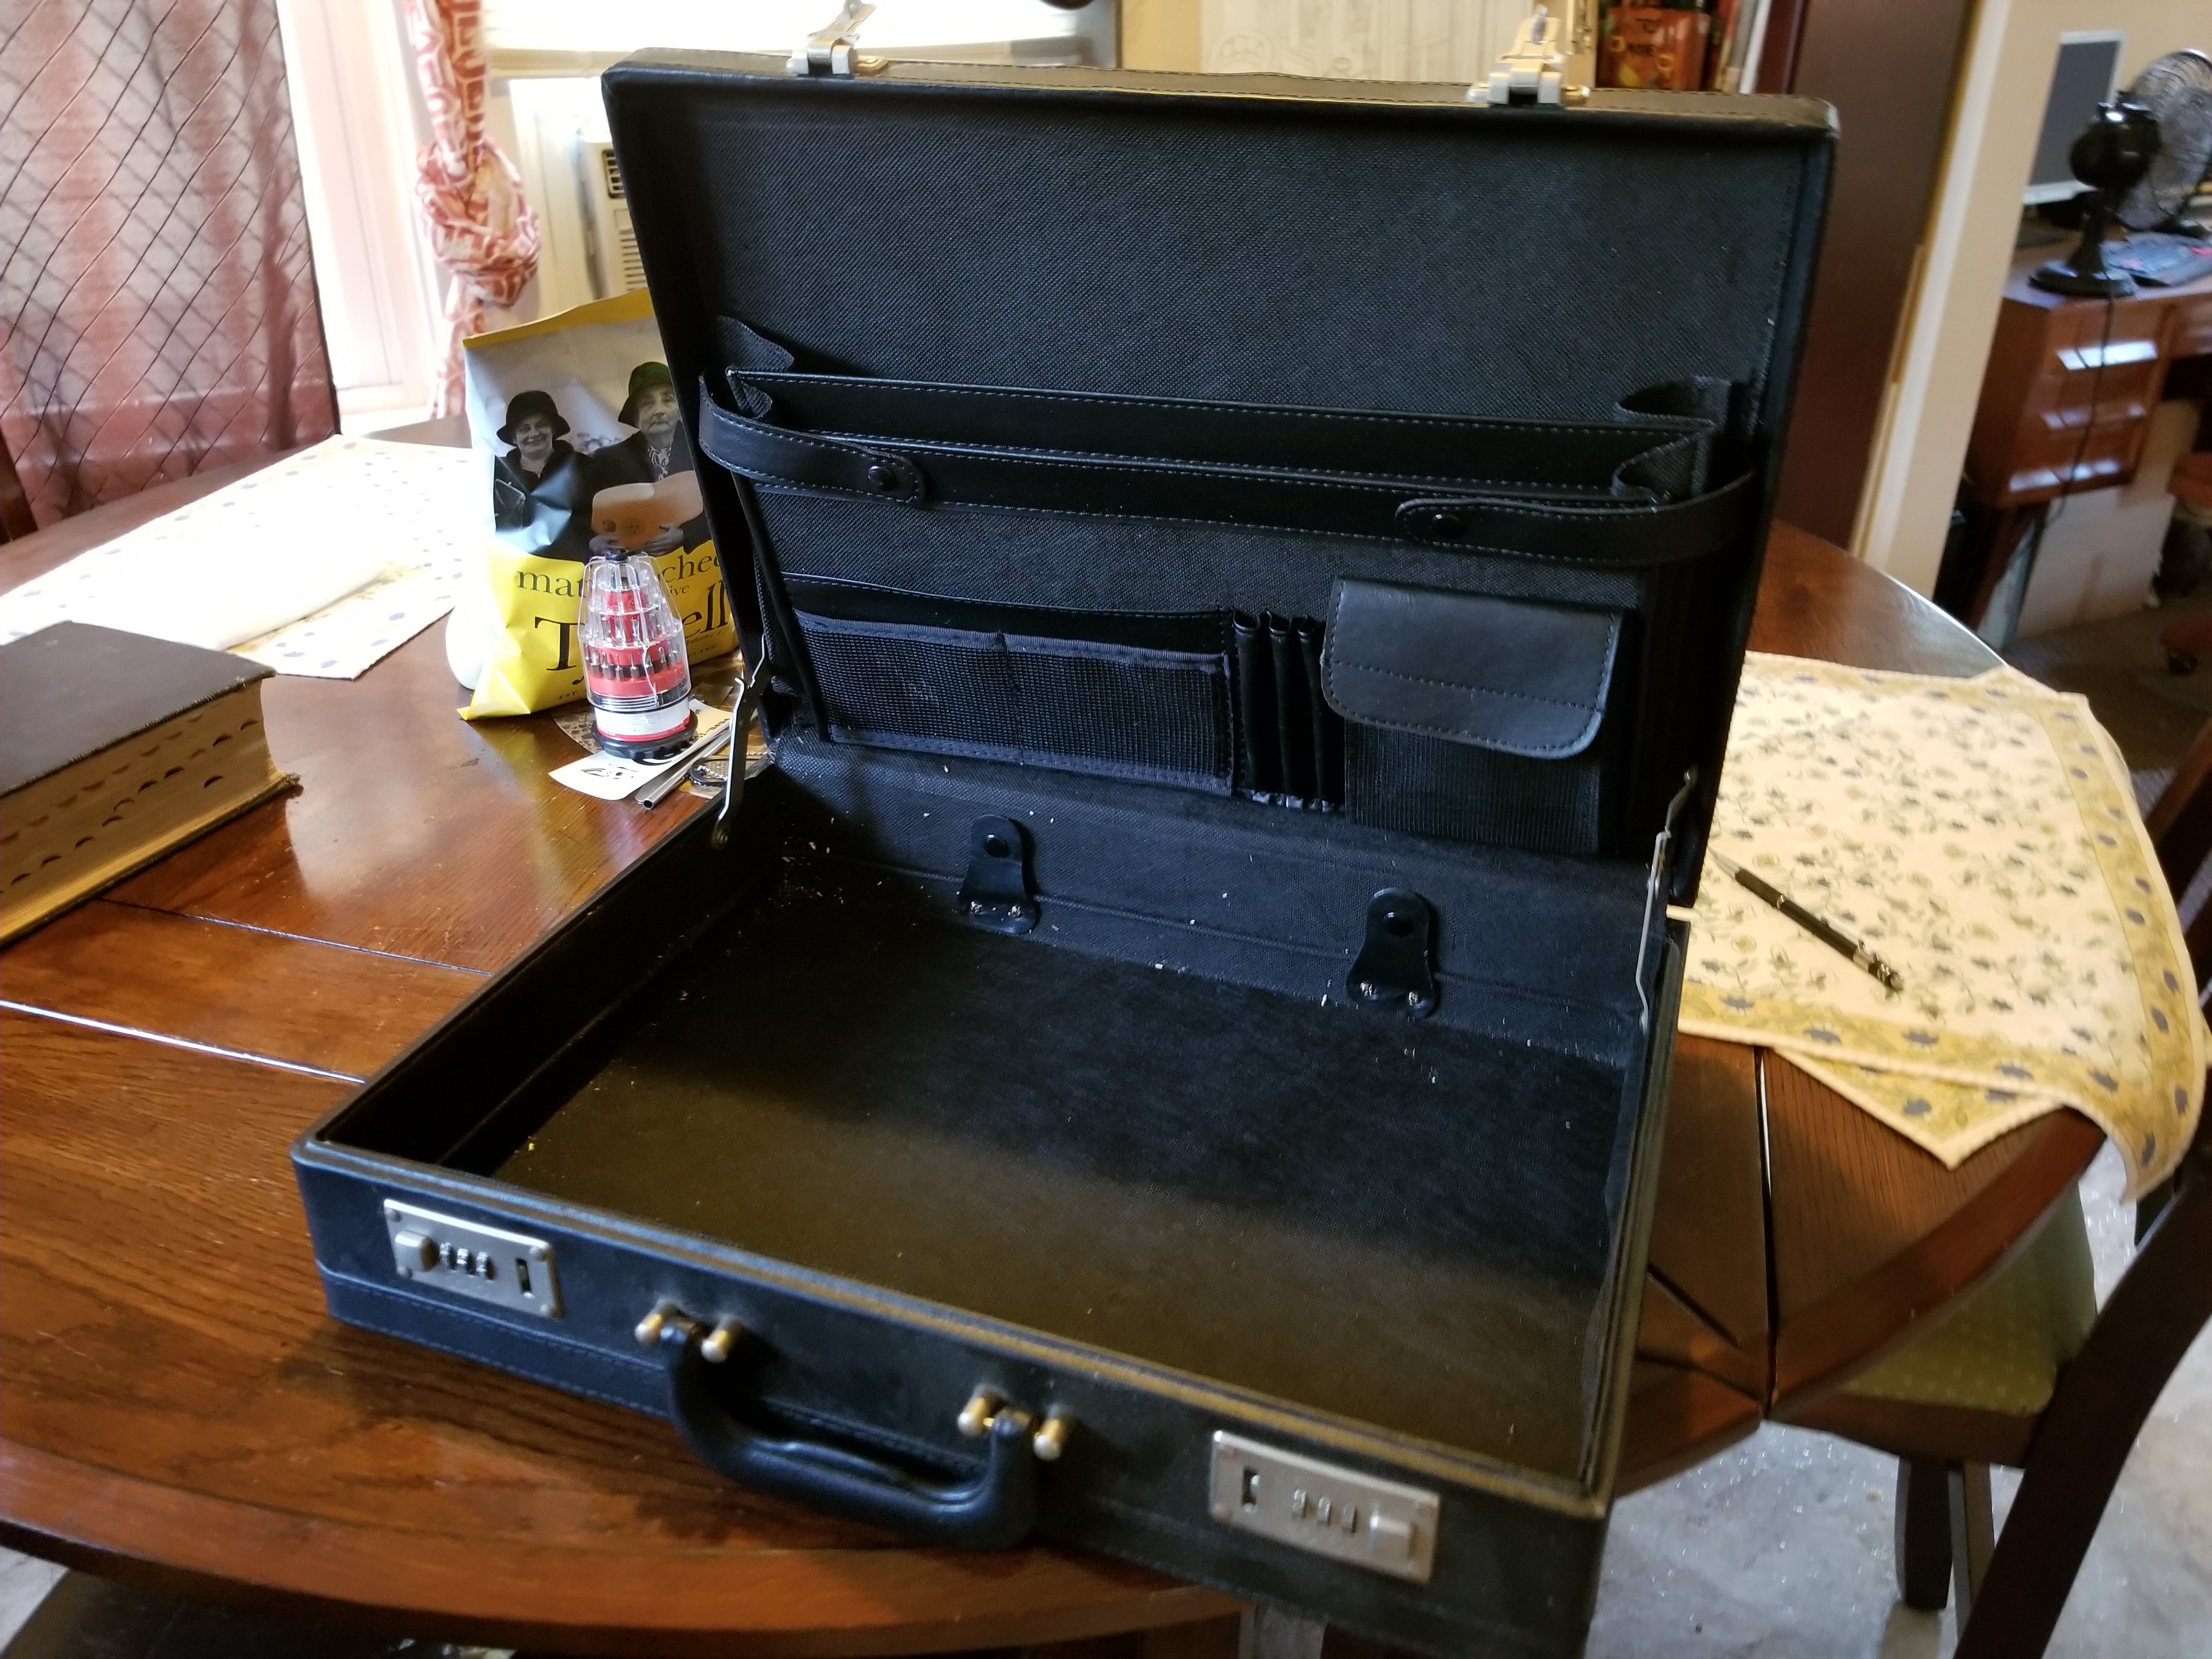
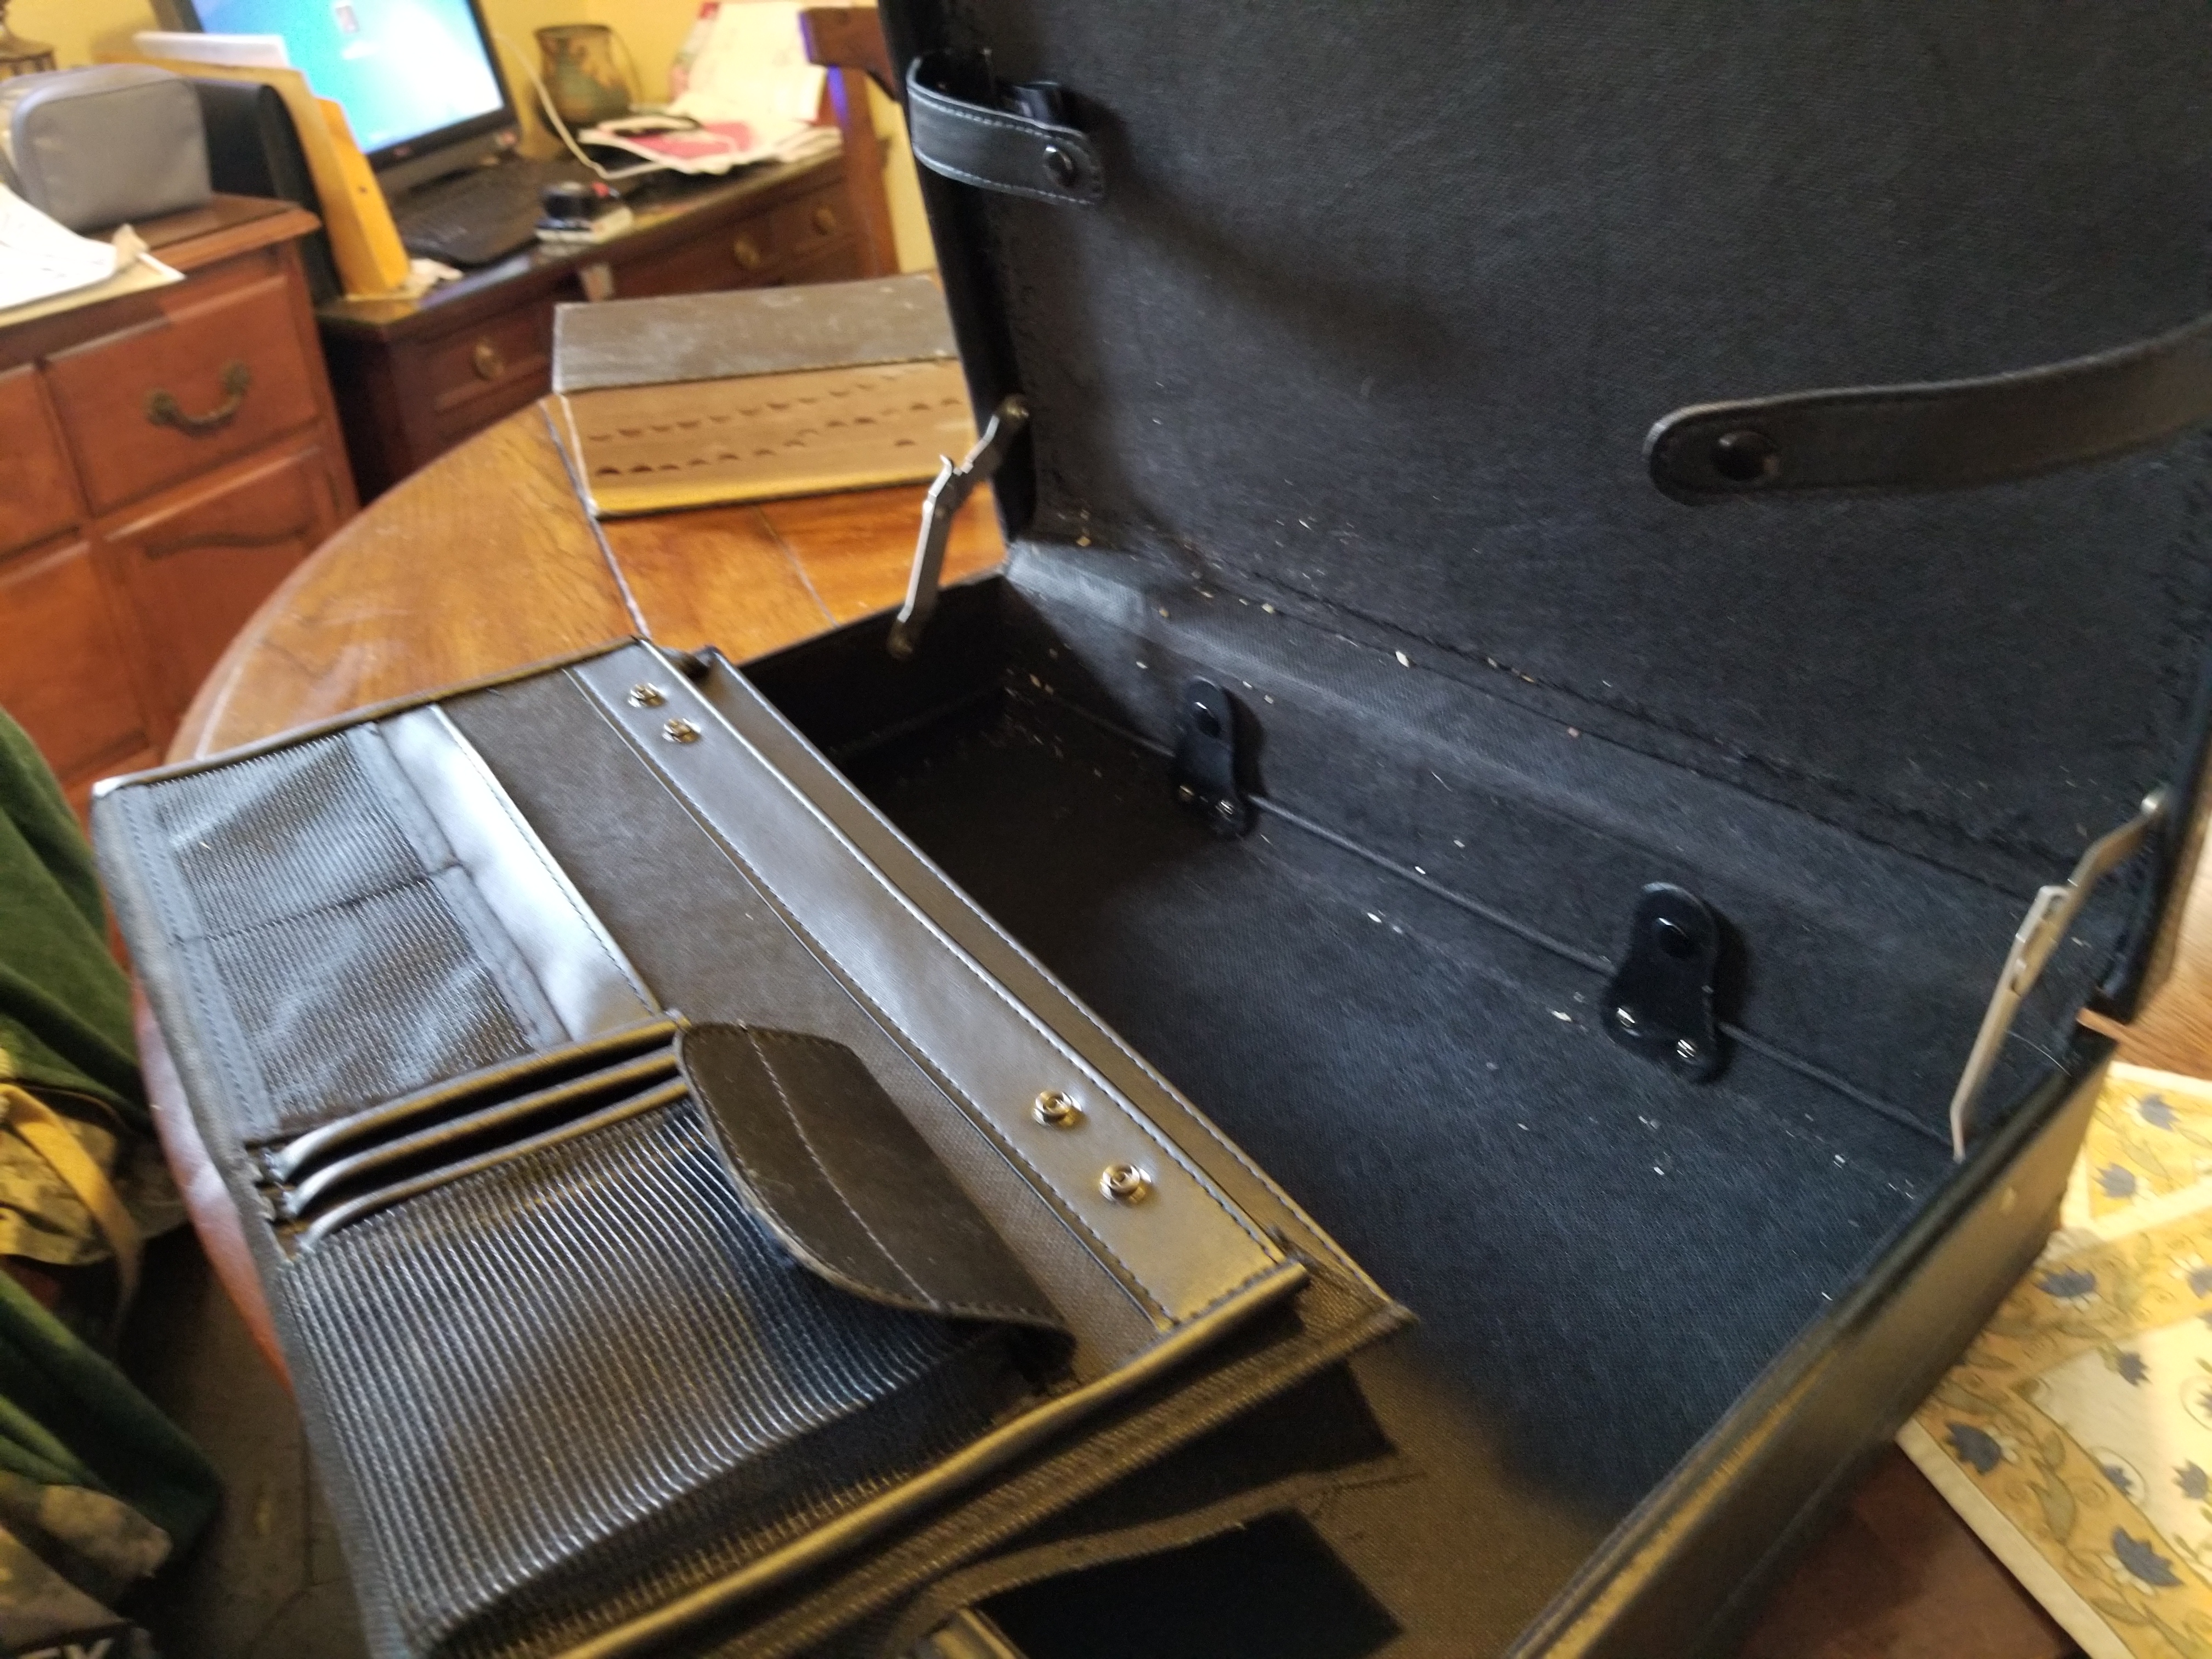
An empty for now case….
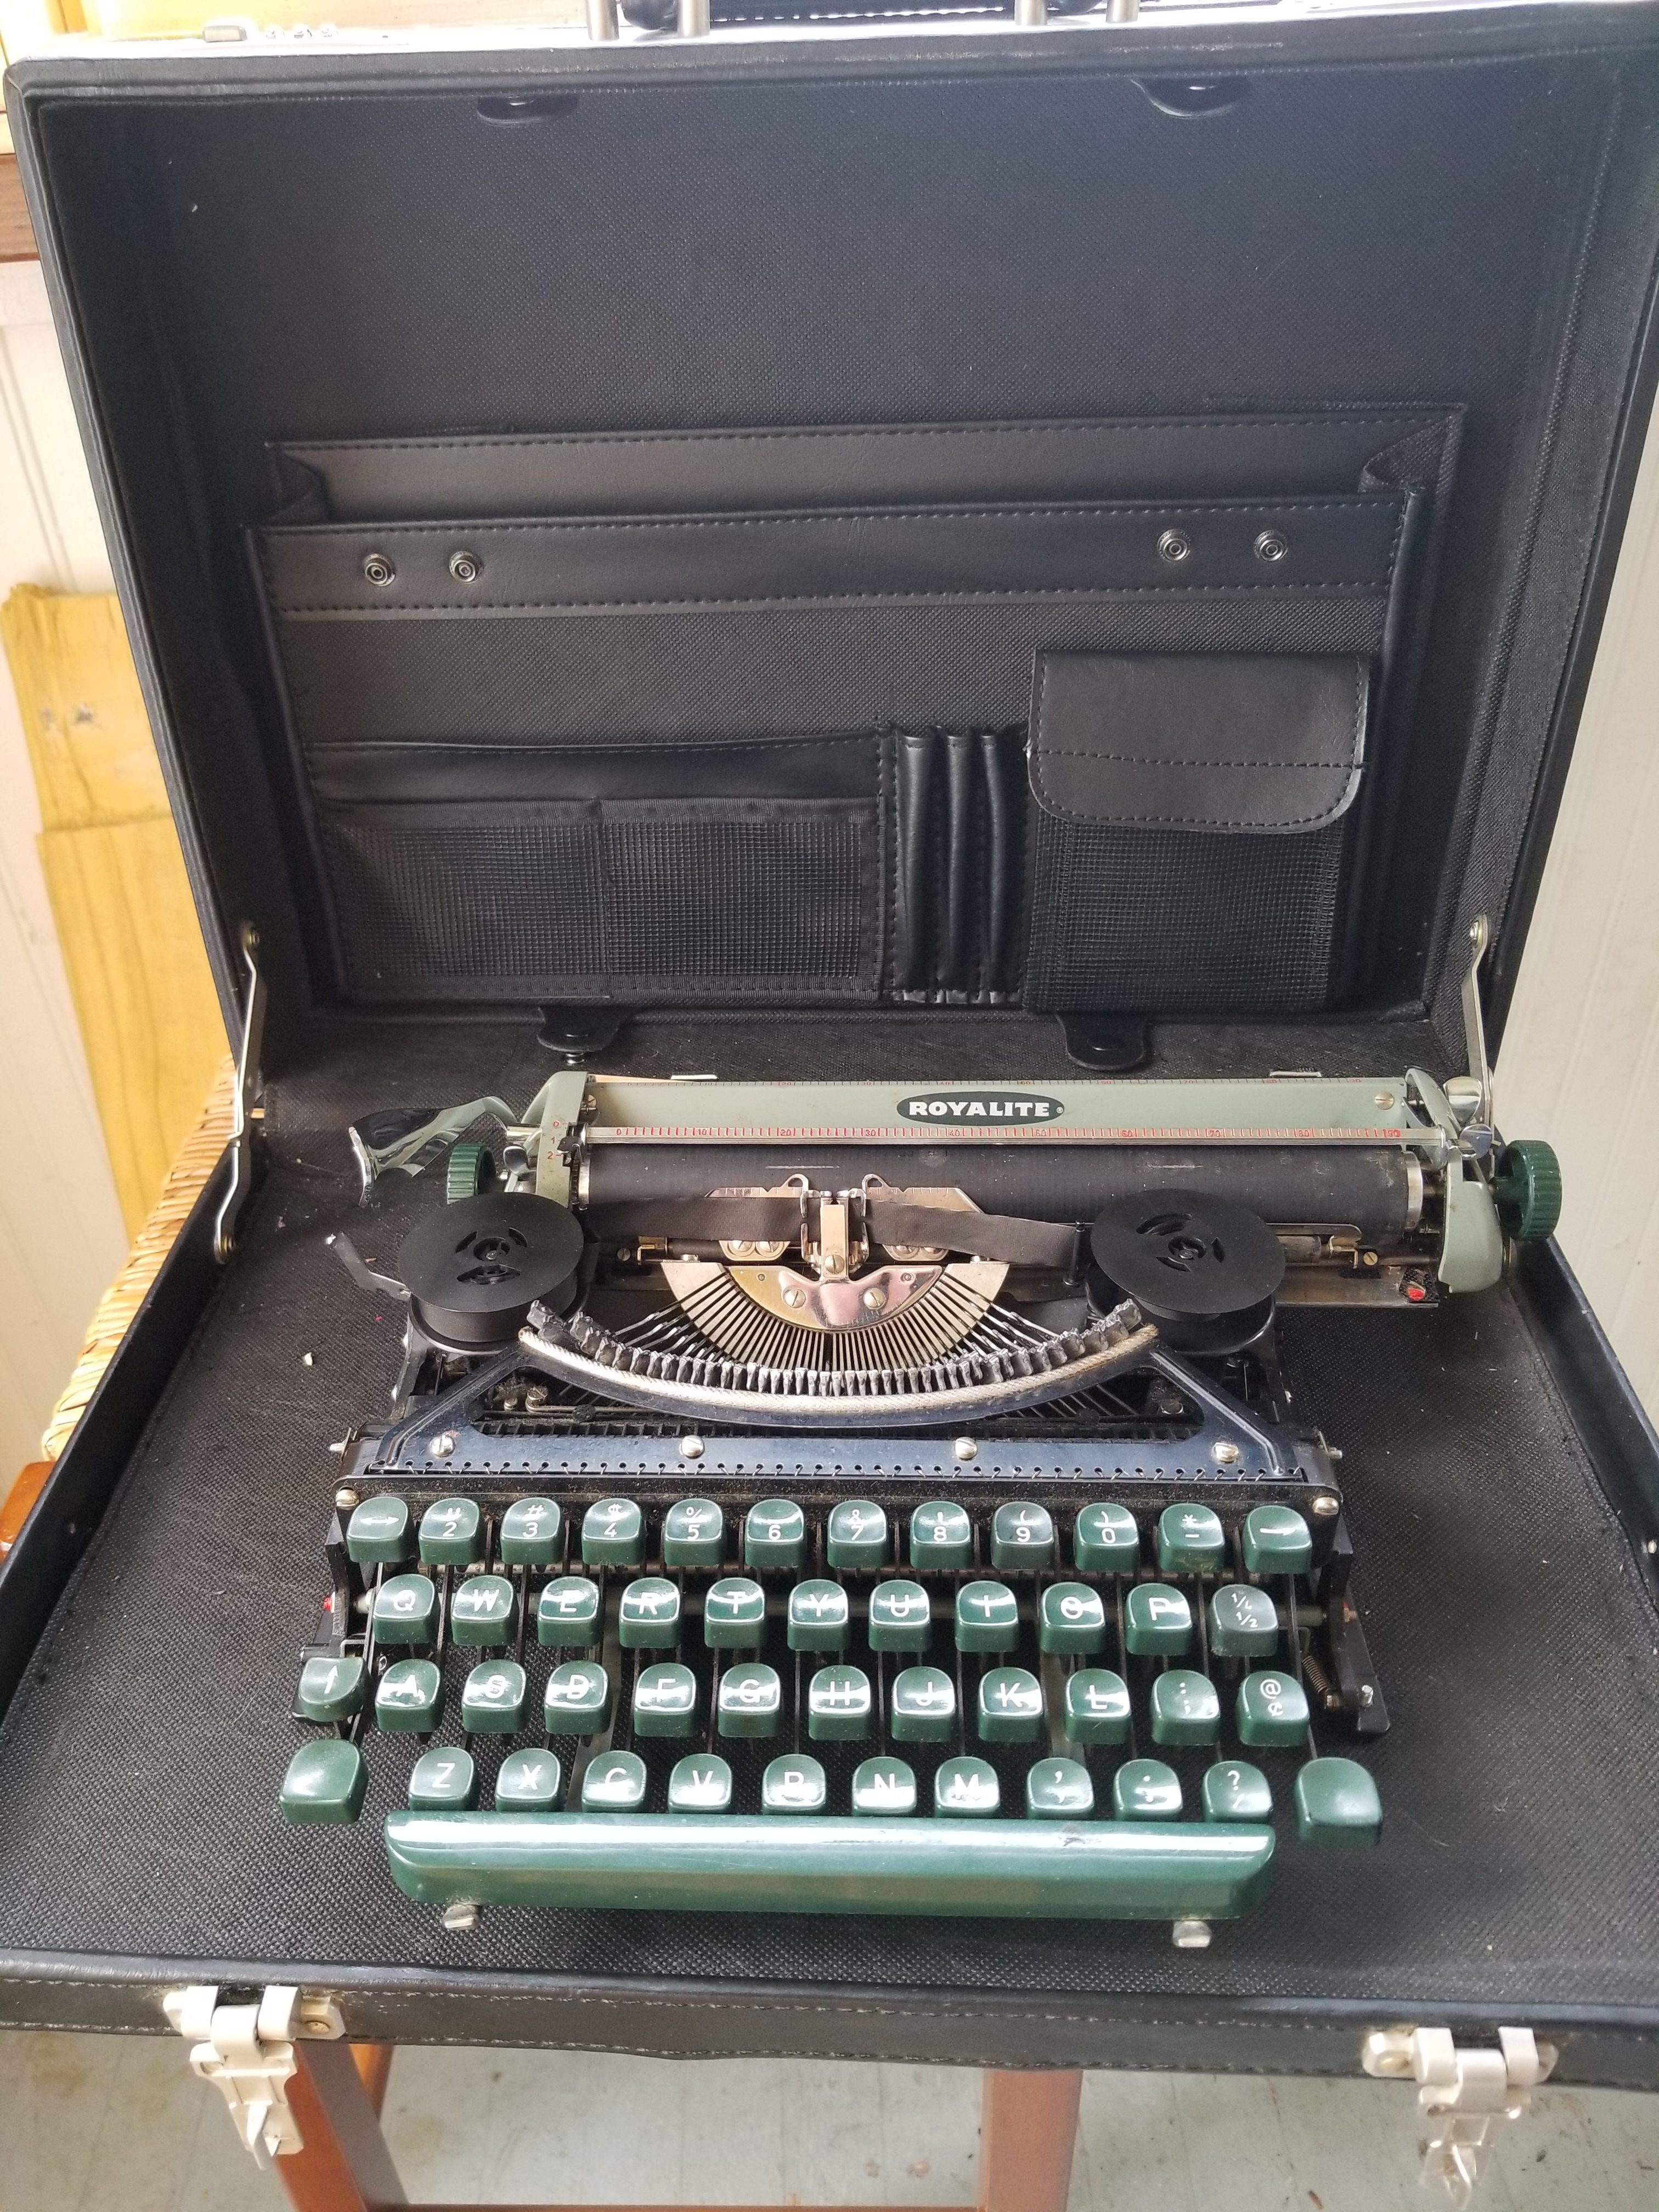
Taking a tip from typer cases, I decided the best plan would be to mount it on the lid, thereby in essence reversing the briefcase. Seemed like a good idea, and, figuring I only had an old case and an already broken typer to lose, I went ahead and took the plunge.
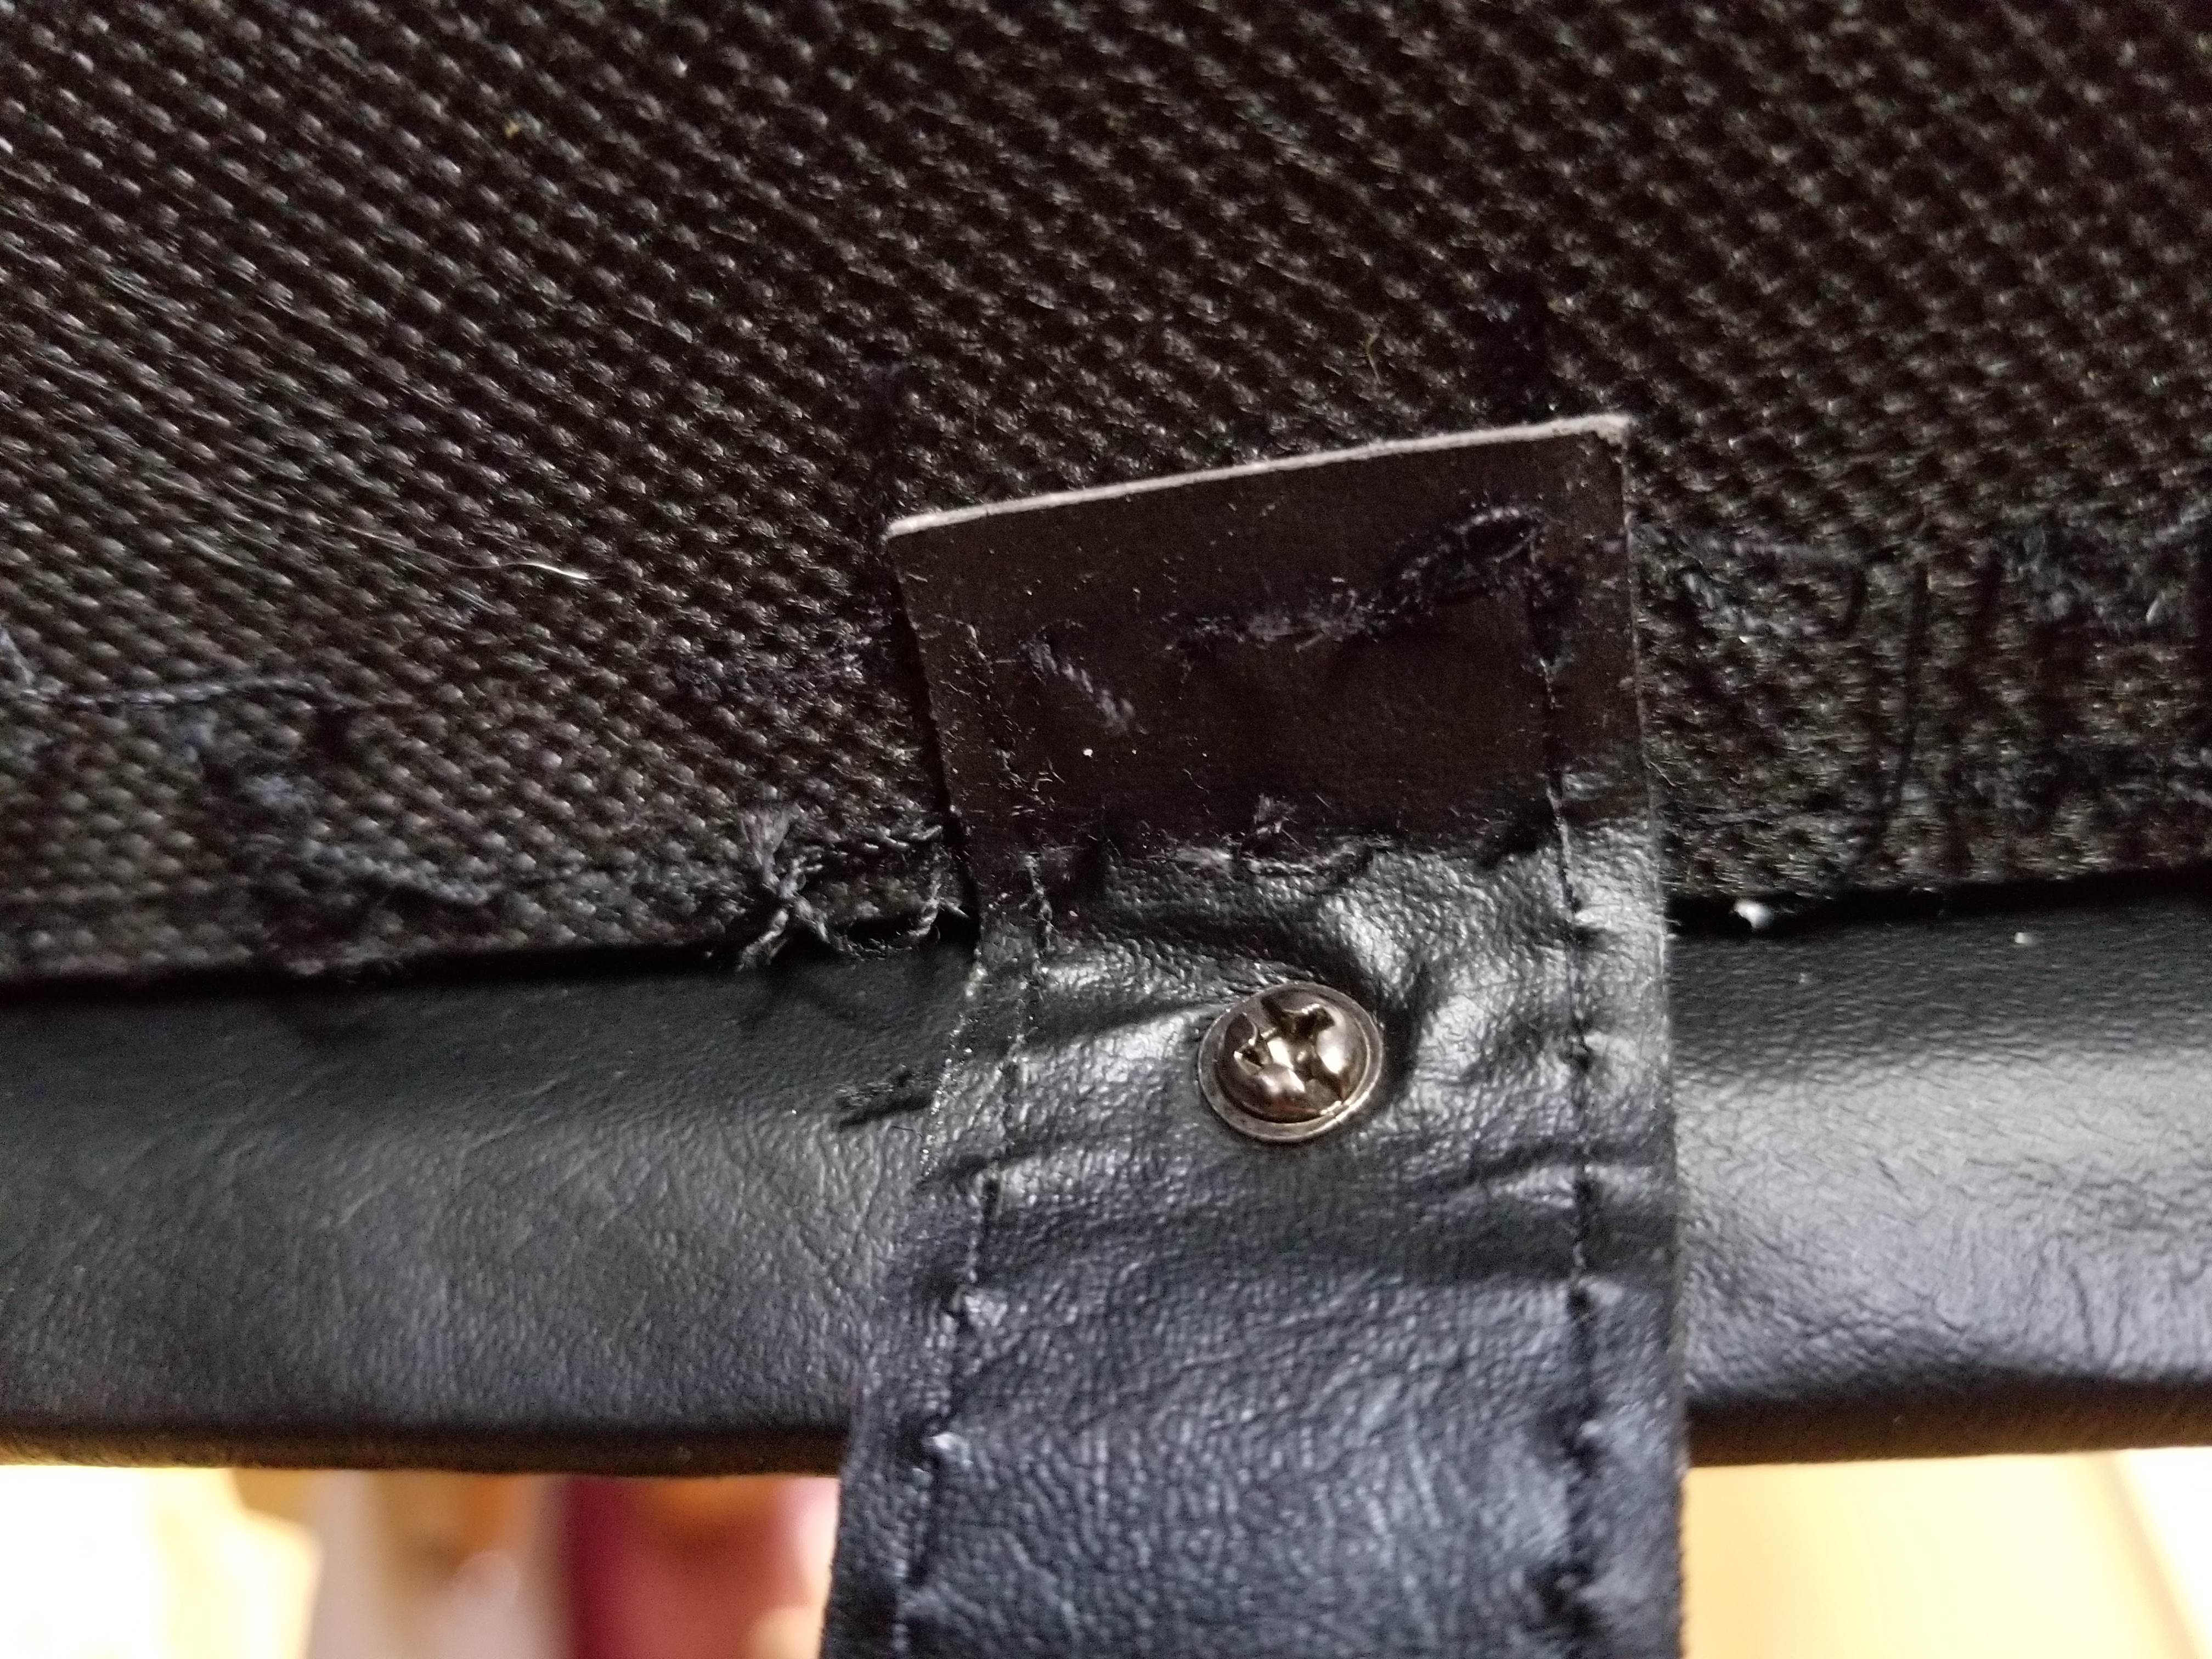
The first step was cutting the threads to free the admin panel so that I could eventually remount it in what was originally the bottom of the case. Didn’t quite know yet how I would make that happen at this point, but trusted that I would figure out a way.
Cutting the threads took a little time as I wanted to be careful to not cut the underlying material and ended up doing a decent job. The straps were held on by small screws as were the expander tabs. Super simple and honestly, it made things tons easier overall.
Admin panel removed
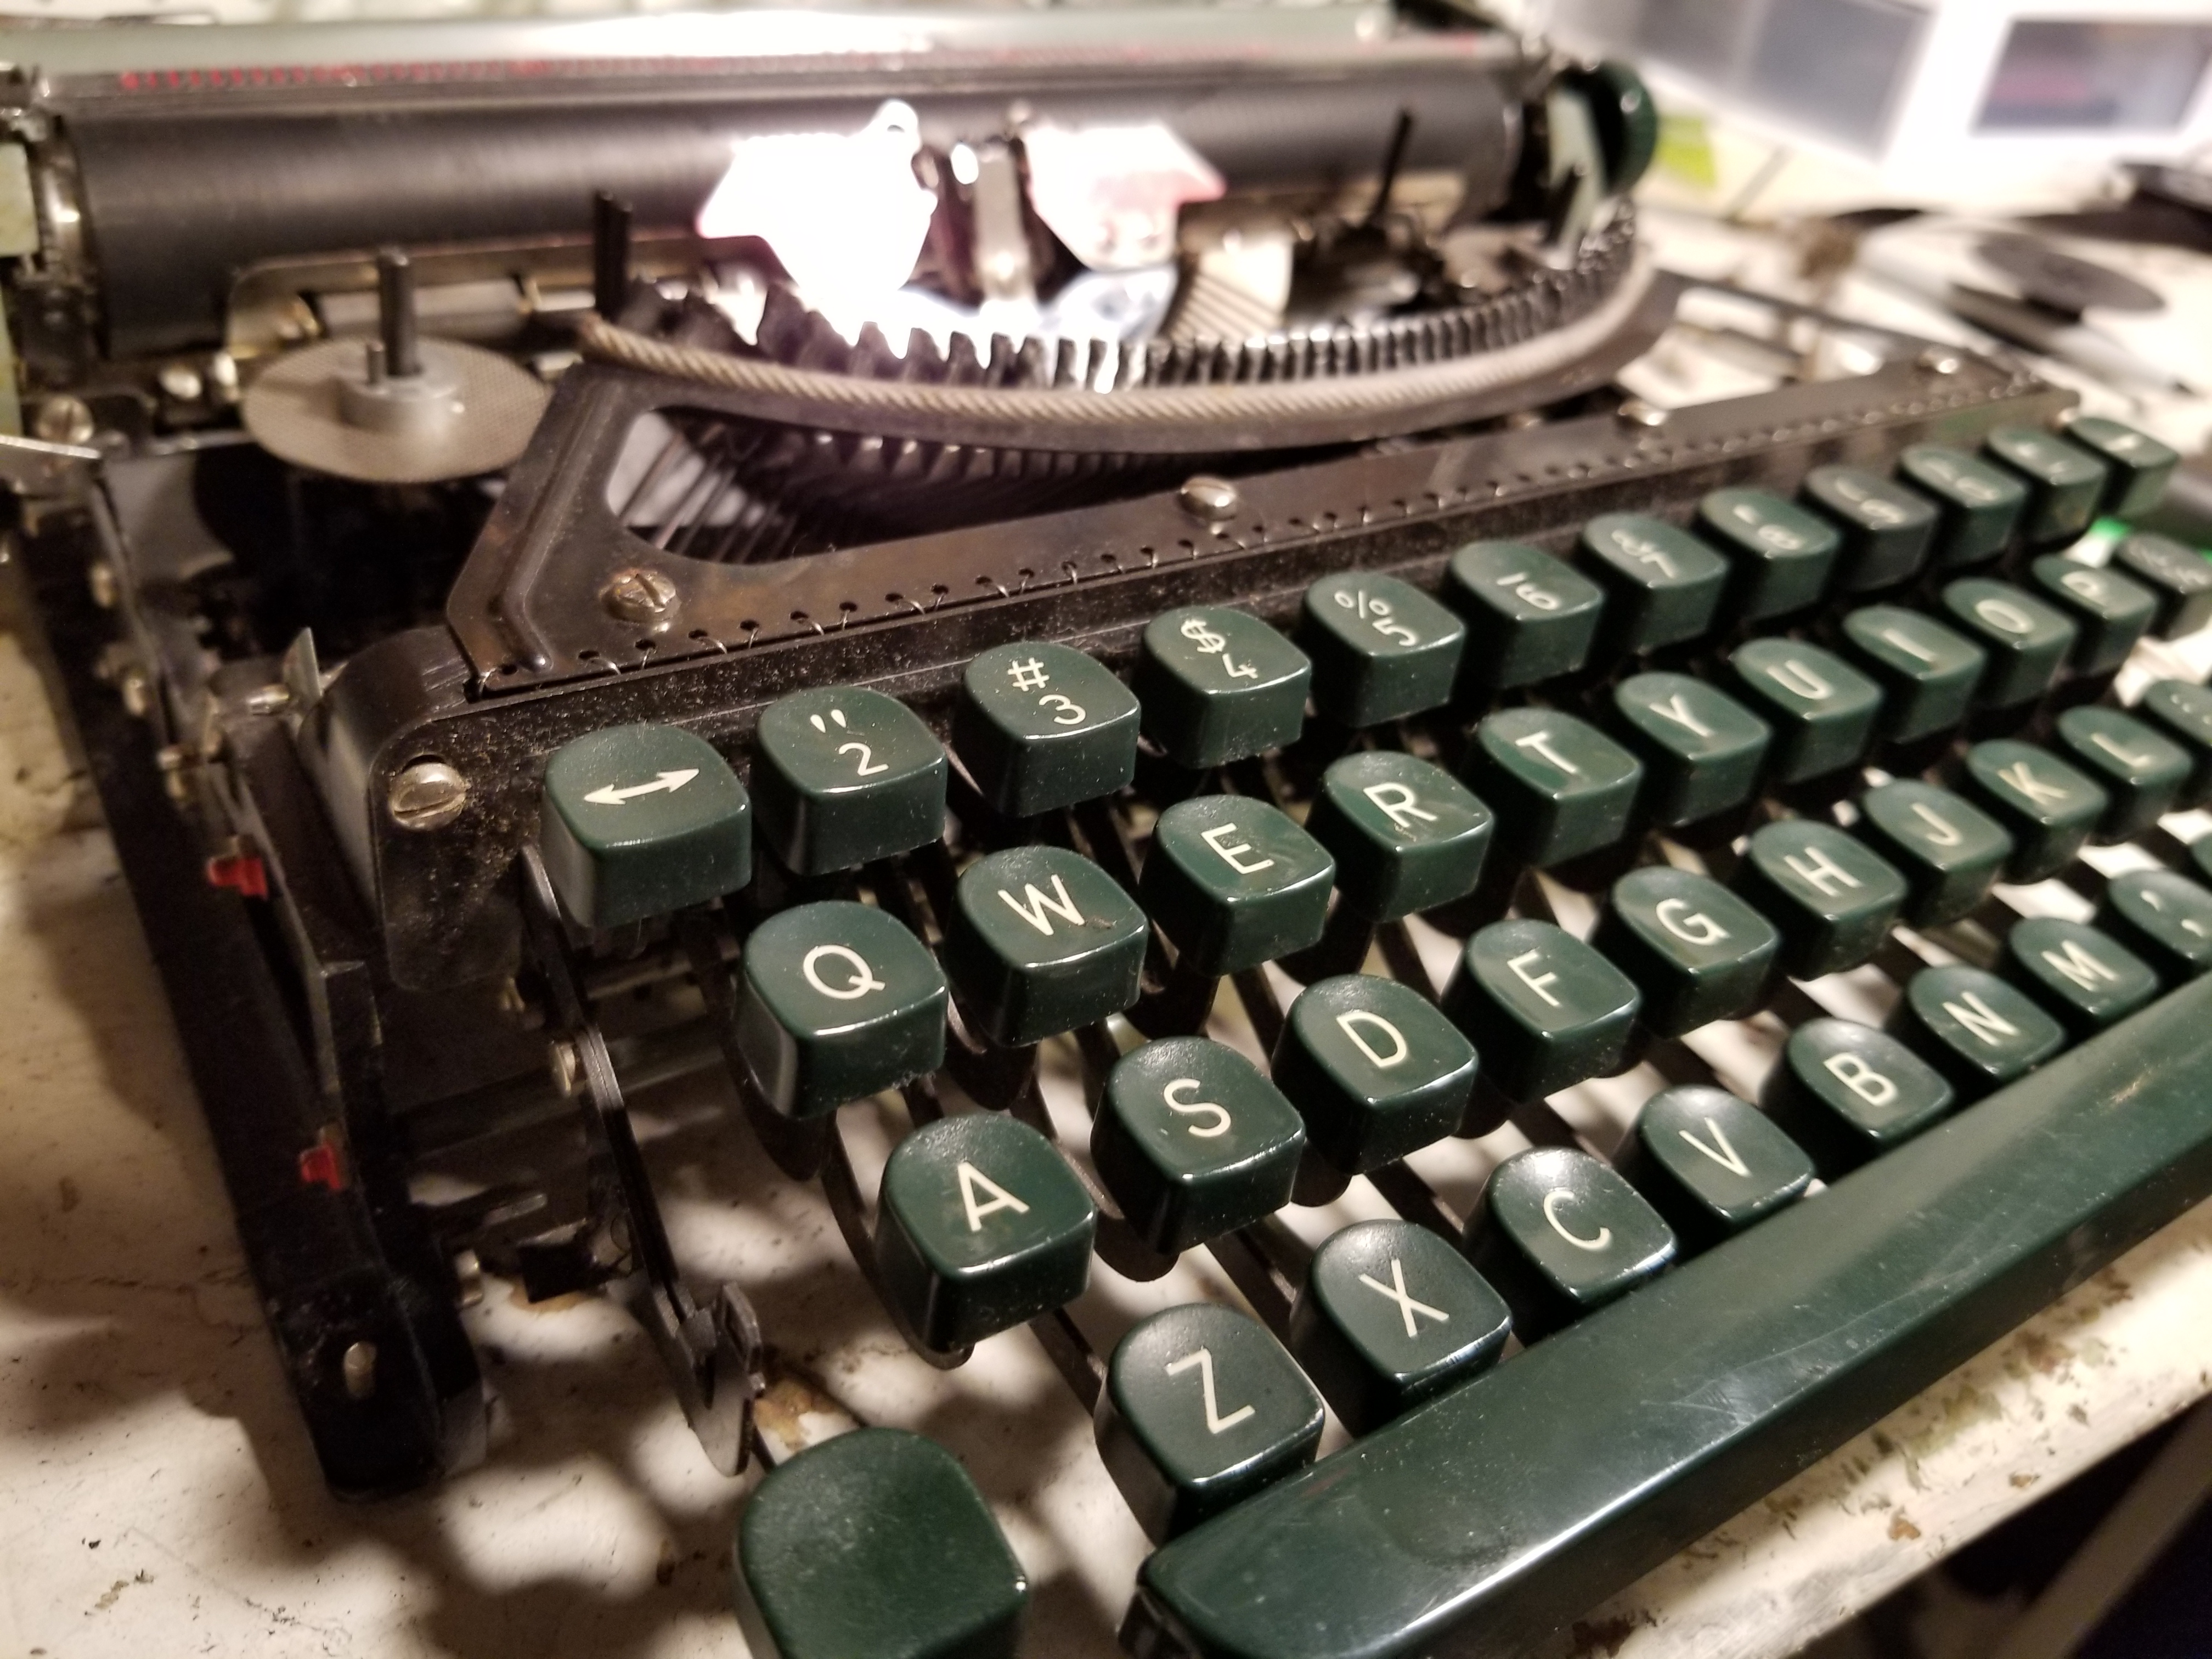
Here is what I had to work with, the inside bits of a Royalite (also in need of desperate clean)….
Eeeek! A naked typer!
I told myself at the beginning of this project that I was determined to not cause any further damage to any part of this typer. It had already been through enough as it is and besides, I just wanted to see if I could figure something out because I love a typer challenge!
Eventually, I decided that I would hit the local hardware store for some parts. My plan was to match the screws that originally held the body to the frame and swap them out for some longer bolts. That way, I would just need to mark the location, drill a few pilot holes, run the new hardware through and BAM! Typer in briefcase. Well, there were a few problems along the way….
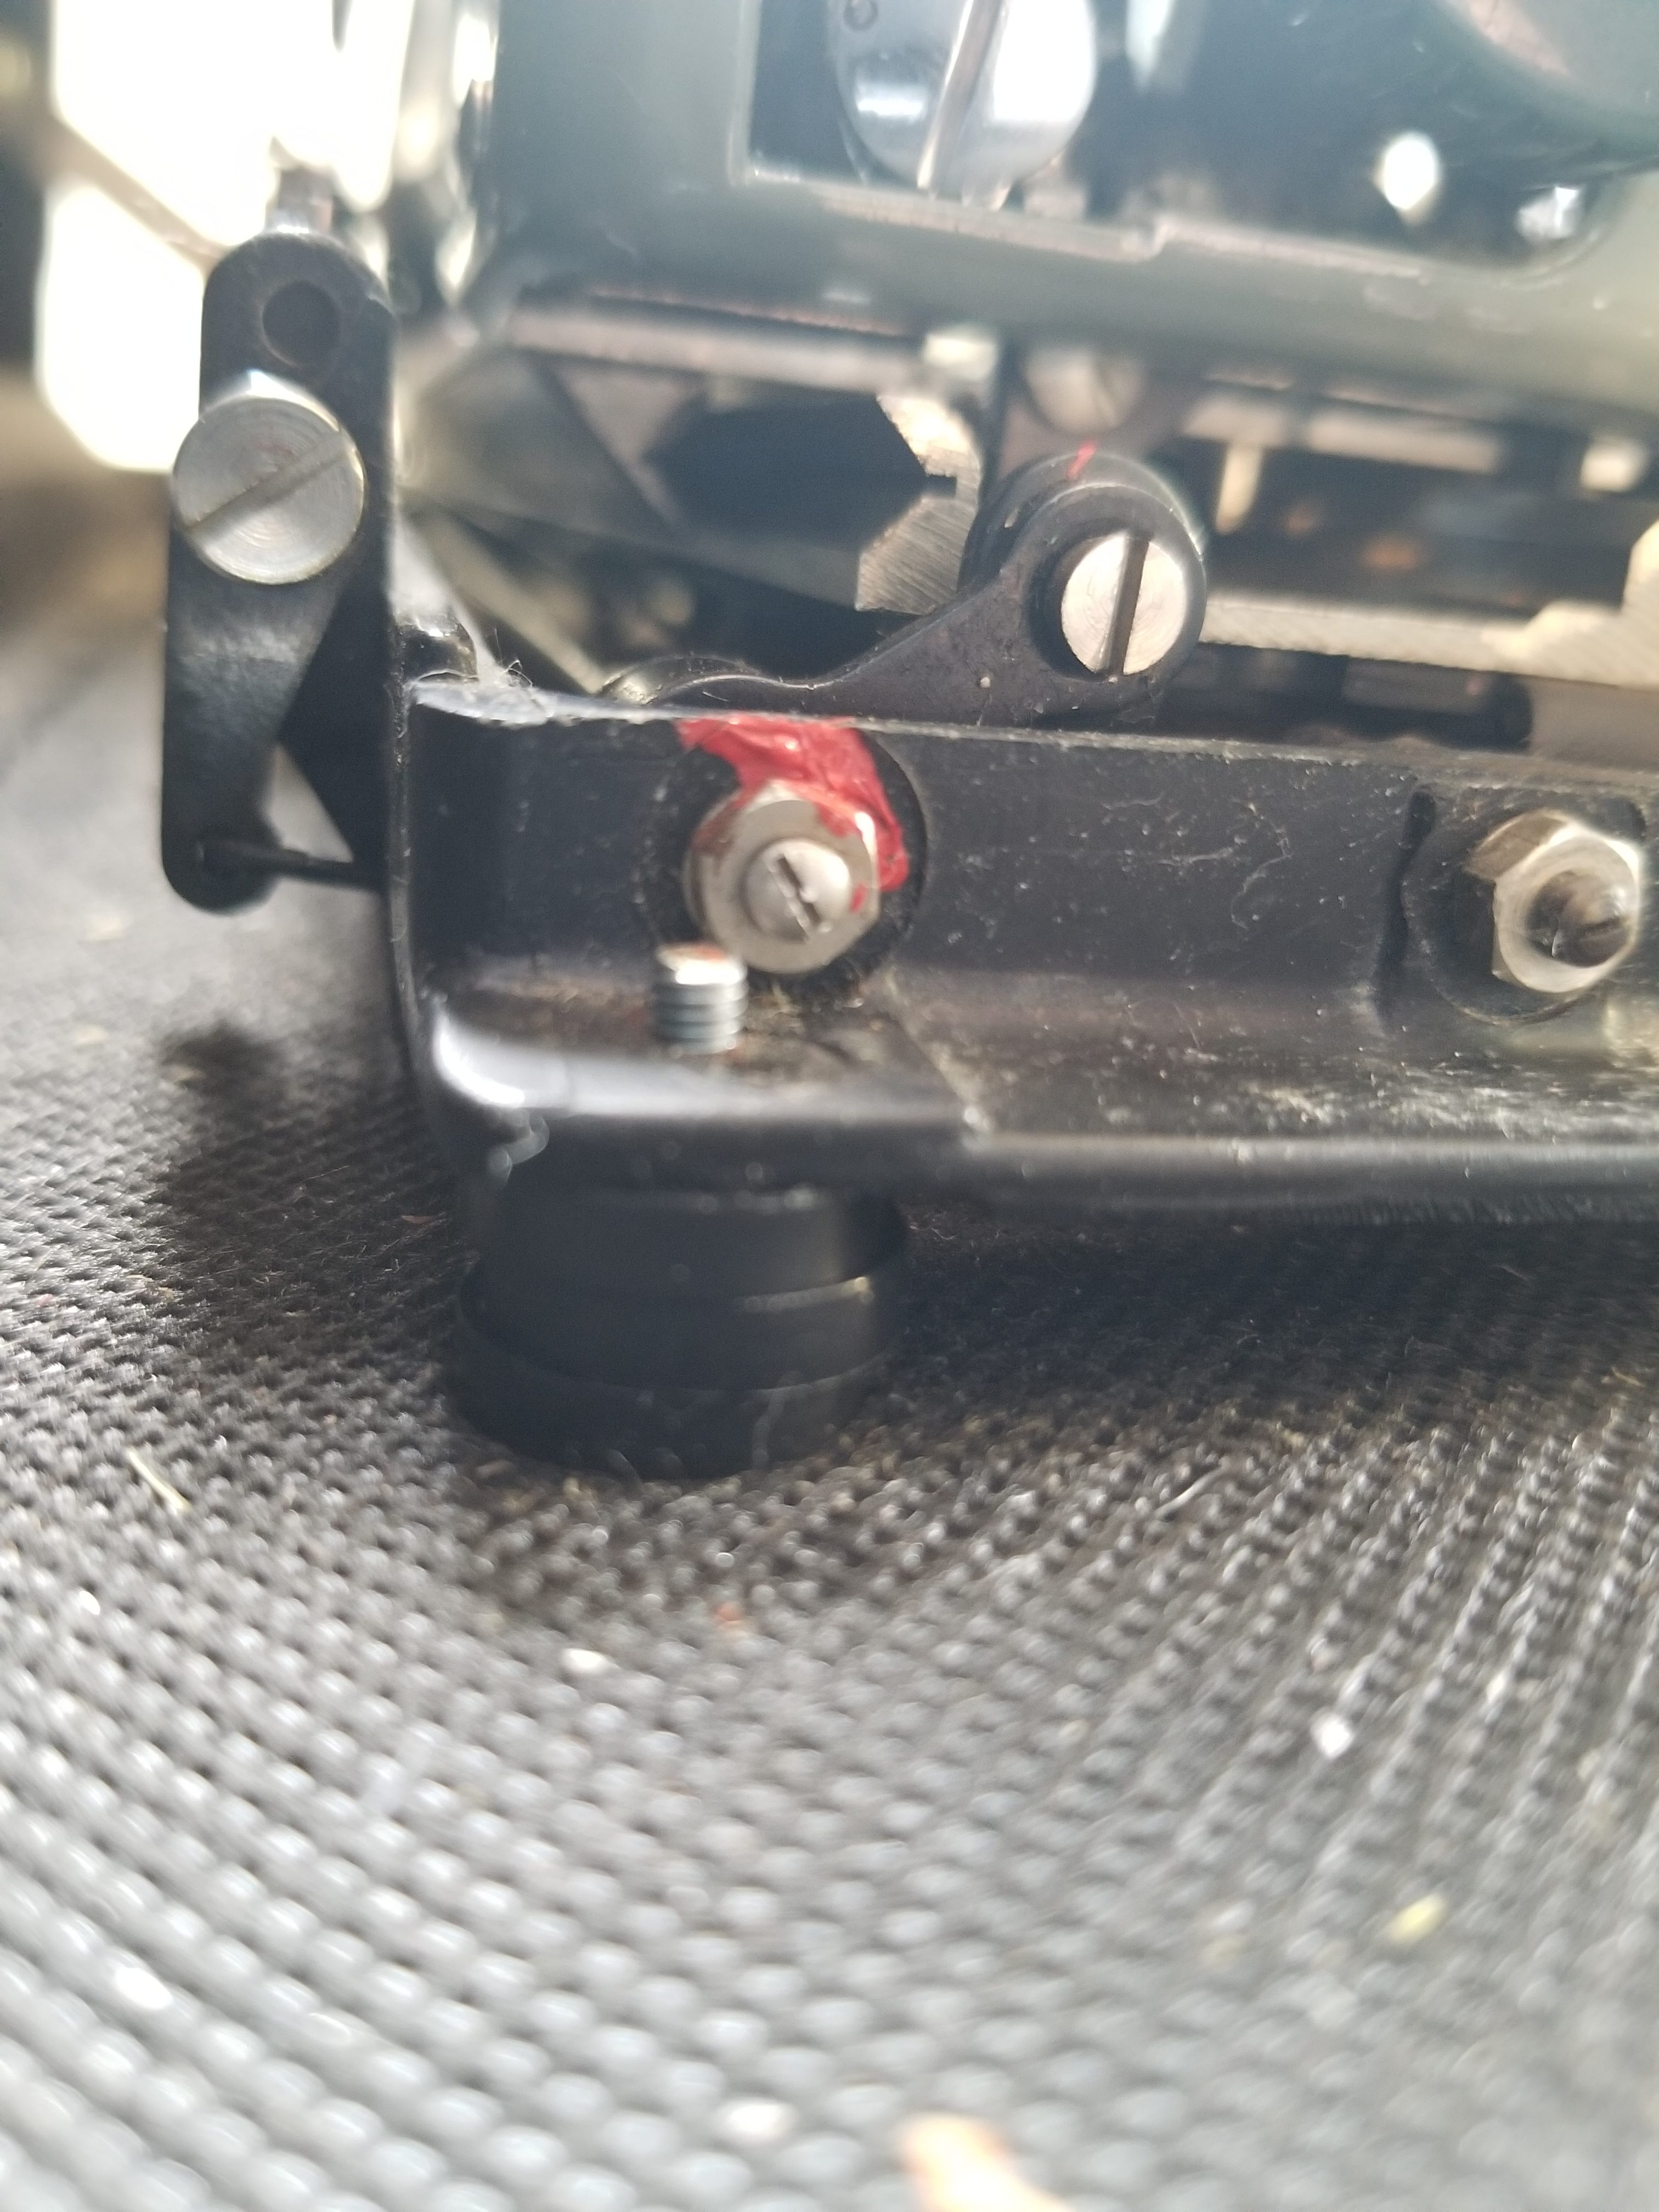
Rubber washers for cushion/height adjustment
The first, and most concerning, problem was how the machine originally sat in the case. It seems a little too rigid and the angle seemed a little bit off. So, I kitted up and headed out into the world for what I like to call the “GODDAMMITSOMUCH” trip to the hardware store. I needed to obtain some small rubber washers to help cushion the frame and also increase the height just a little bit for easier typing. I found that three washers on the back posts and two on the front worked out the best, at least for my big hands.
The next problem that occurred to me was that if I were to drill through the case, there would be screw heads to deal with. And they would now be on what is the bottom of the case, guaranteed to fucker-up someone’s table.
Hmmm. Go cheap and east and just stick on some rubber pads over the hardware? Nope. Too inelegant. I had already checked my random collection of random hardware and there wasn’t anything that I could use. But thankfully, I had foreseen this issue on the hardware trip mentioned above, so I was able to find some screw-on rubber feet that ended up working beautifully.
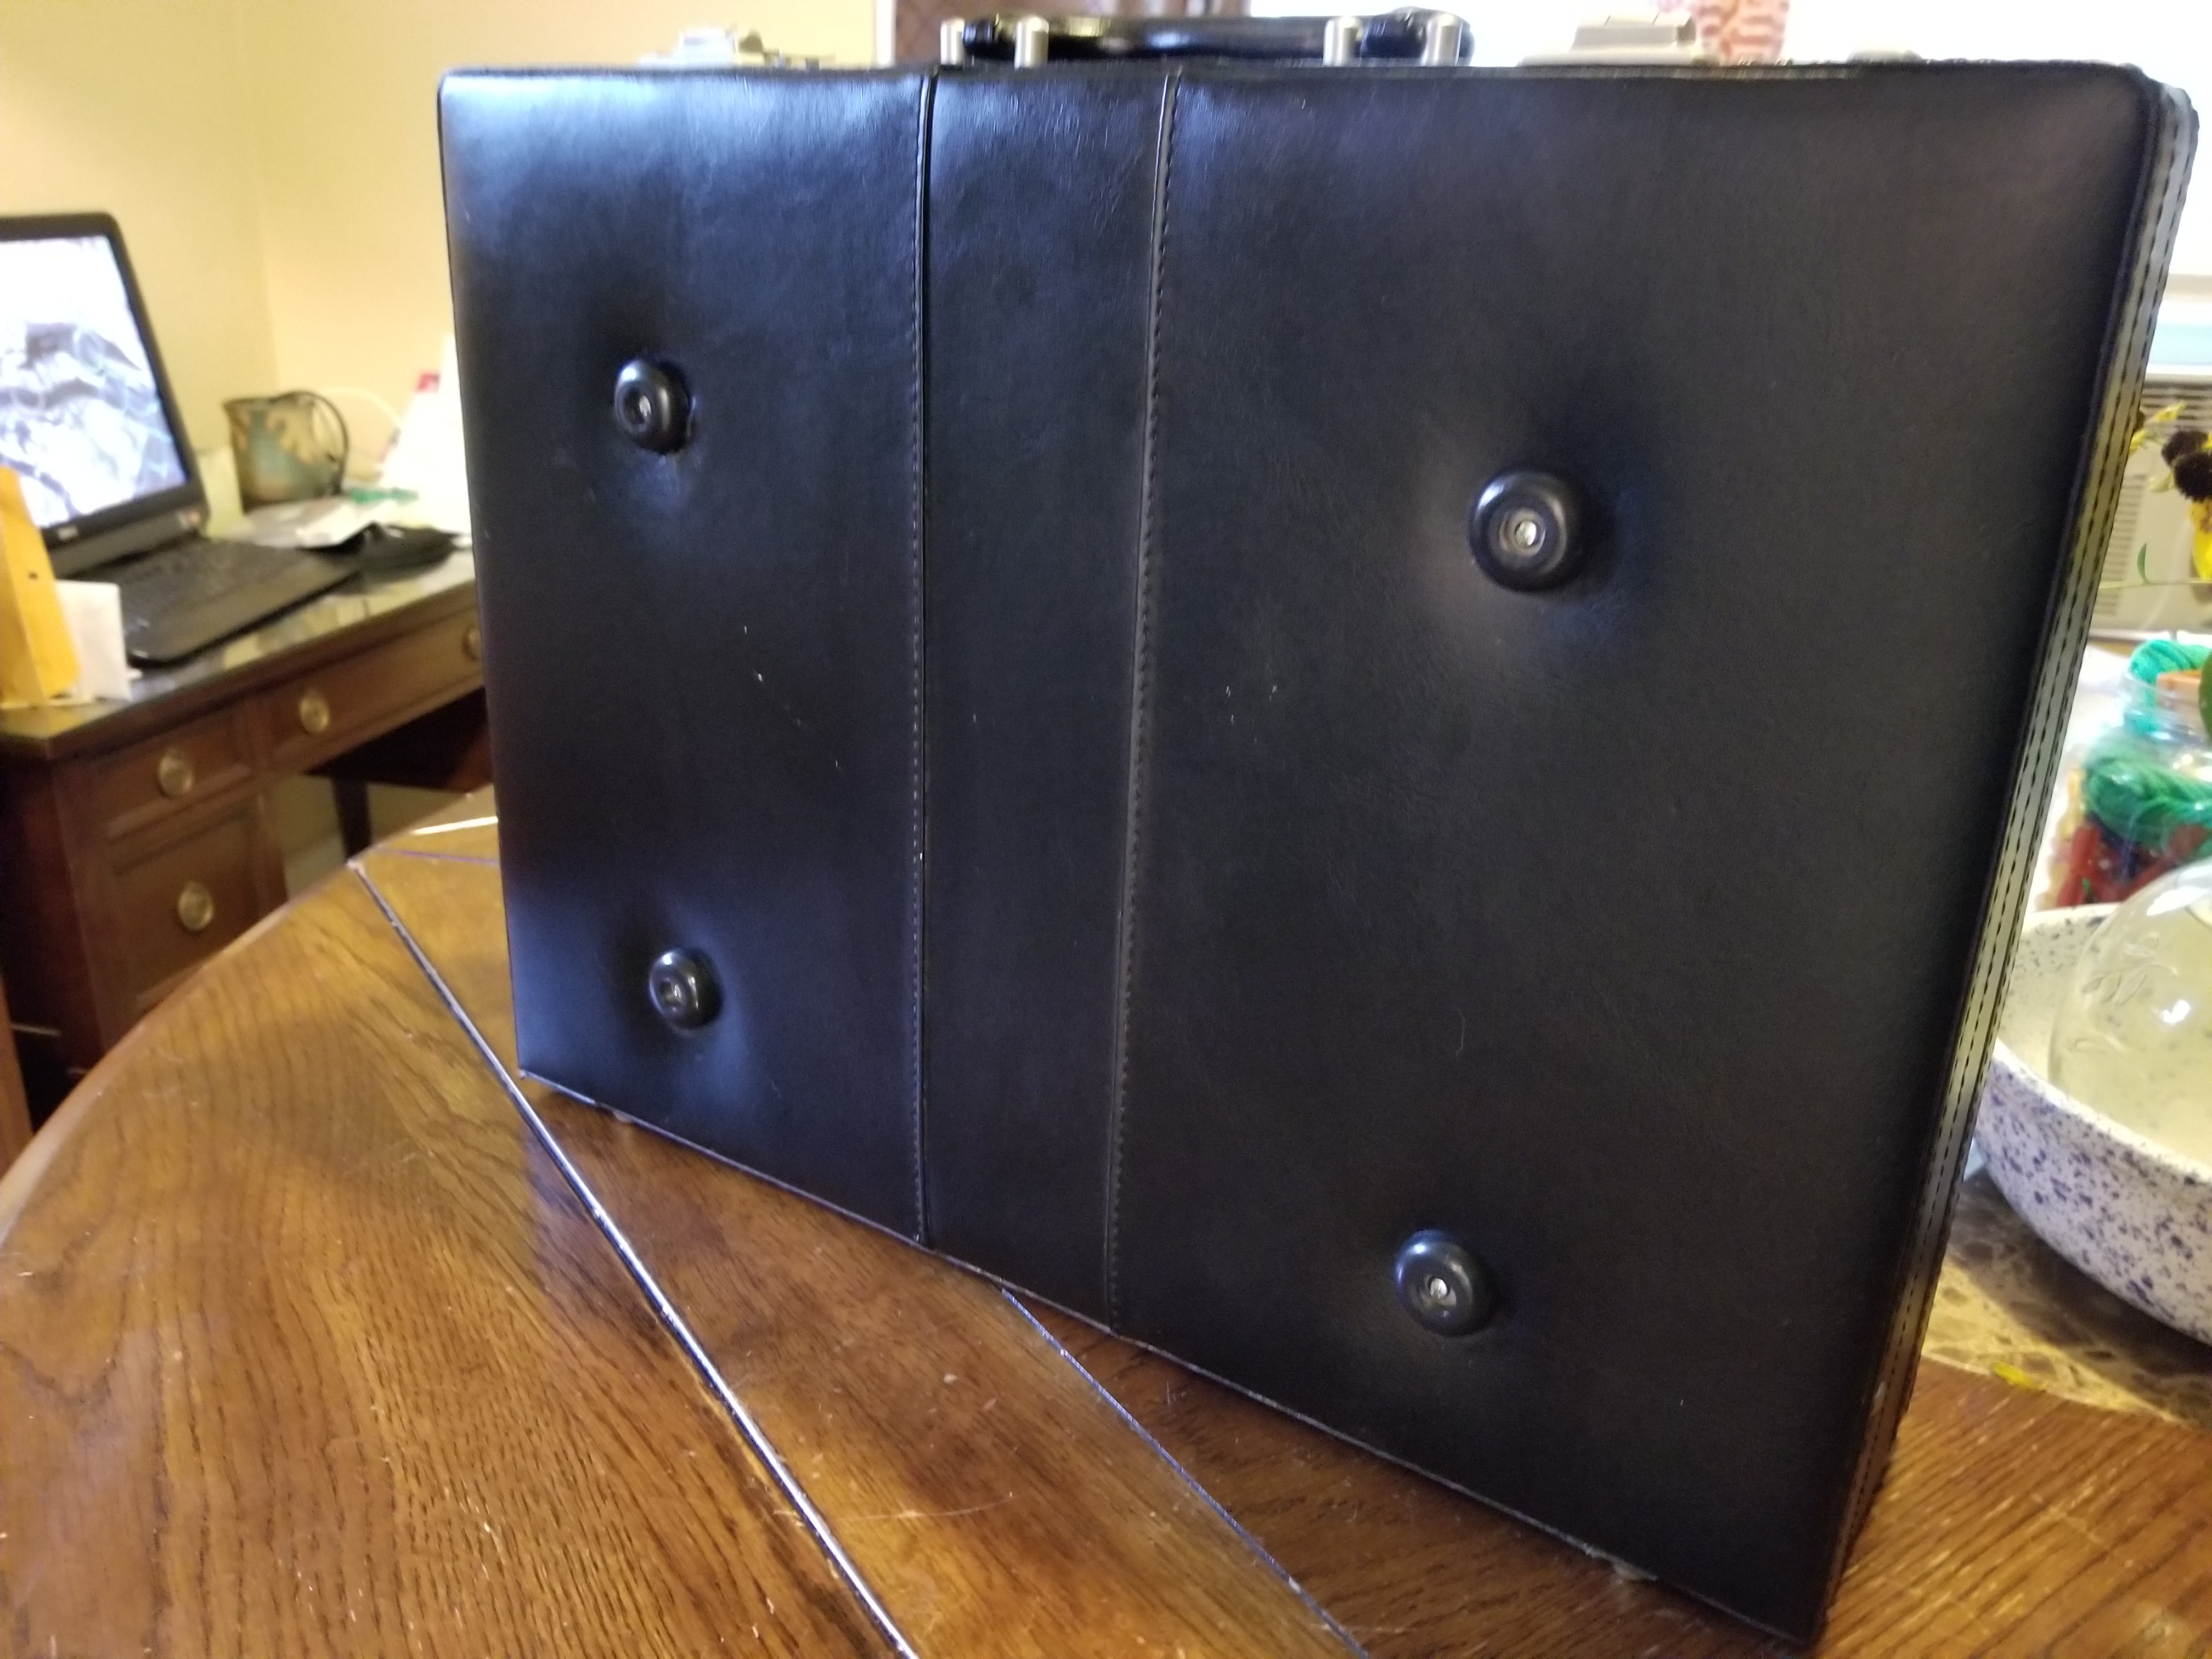
Rubber feet installed; star washer behind
To help keep sliding to a minimum, I included grippy star washers under the feet, that would press into the soft material of the case. There was just enough room for them and it seemed like an easy bit of insurance for typing on a stable platform. I then fed the bolt through the rubber washers, and screwed them into the existing body holes on the frame.
It all lined up great the first time around. Hooray!
And, in case you are wondering, I had spotted the body where I wanted it inside the case and then dabbed a little paint through the frame holes to mark where I wanted to drill pilot holes.
Finally starting to look like something, isn’t it? I’ll finish posting about this project/more details in a couple of days. Silly day-job-real-world-crap calls….